Summary
The Inner and Outer Circle route is a classic trip full of variety and also encompasses some of the most impressive scenery in Agen Allwedd. Trip highlights are the Dome of St Pauls and the Swiss Village, but there’s plenty more to see along the way, from large streamways and pleasant sculpted passages to more arduous going in Coal Cellar Passage. Trip times vary depending on group size and familiarity with the cave system, but it’s advisable to allow at least 8 hours.
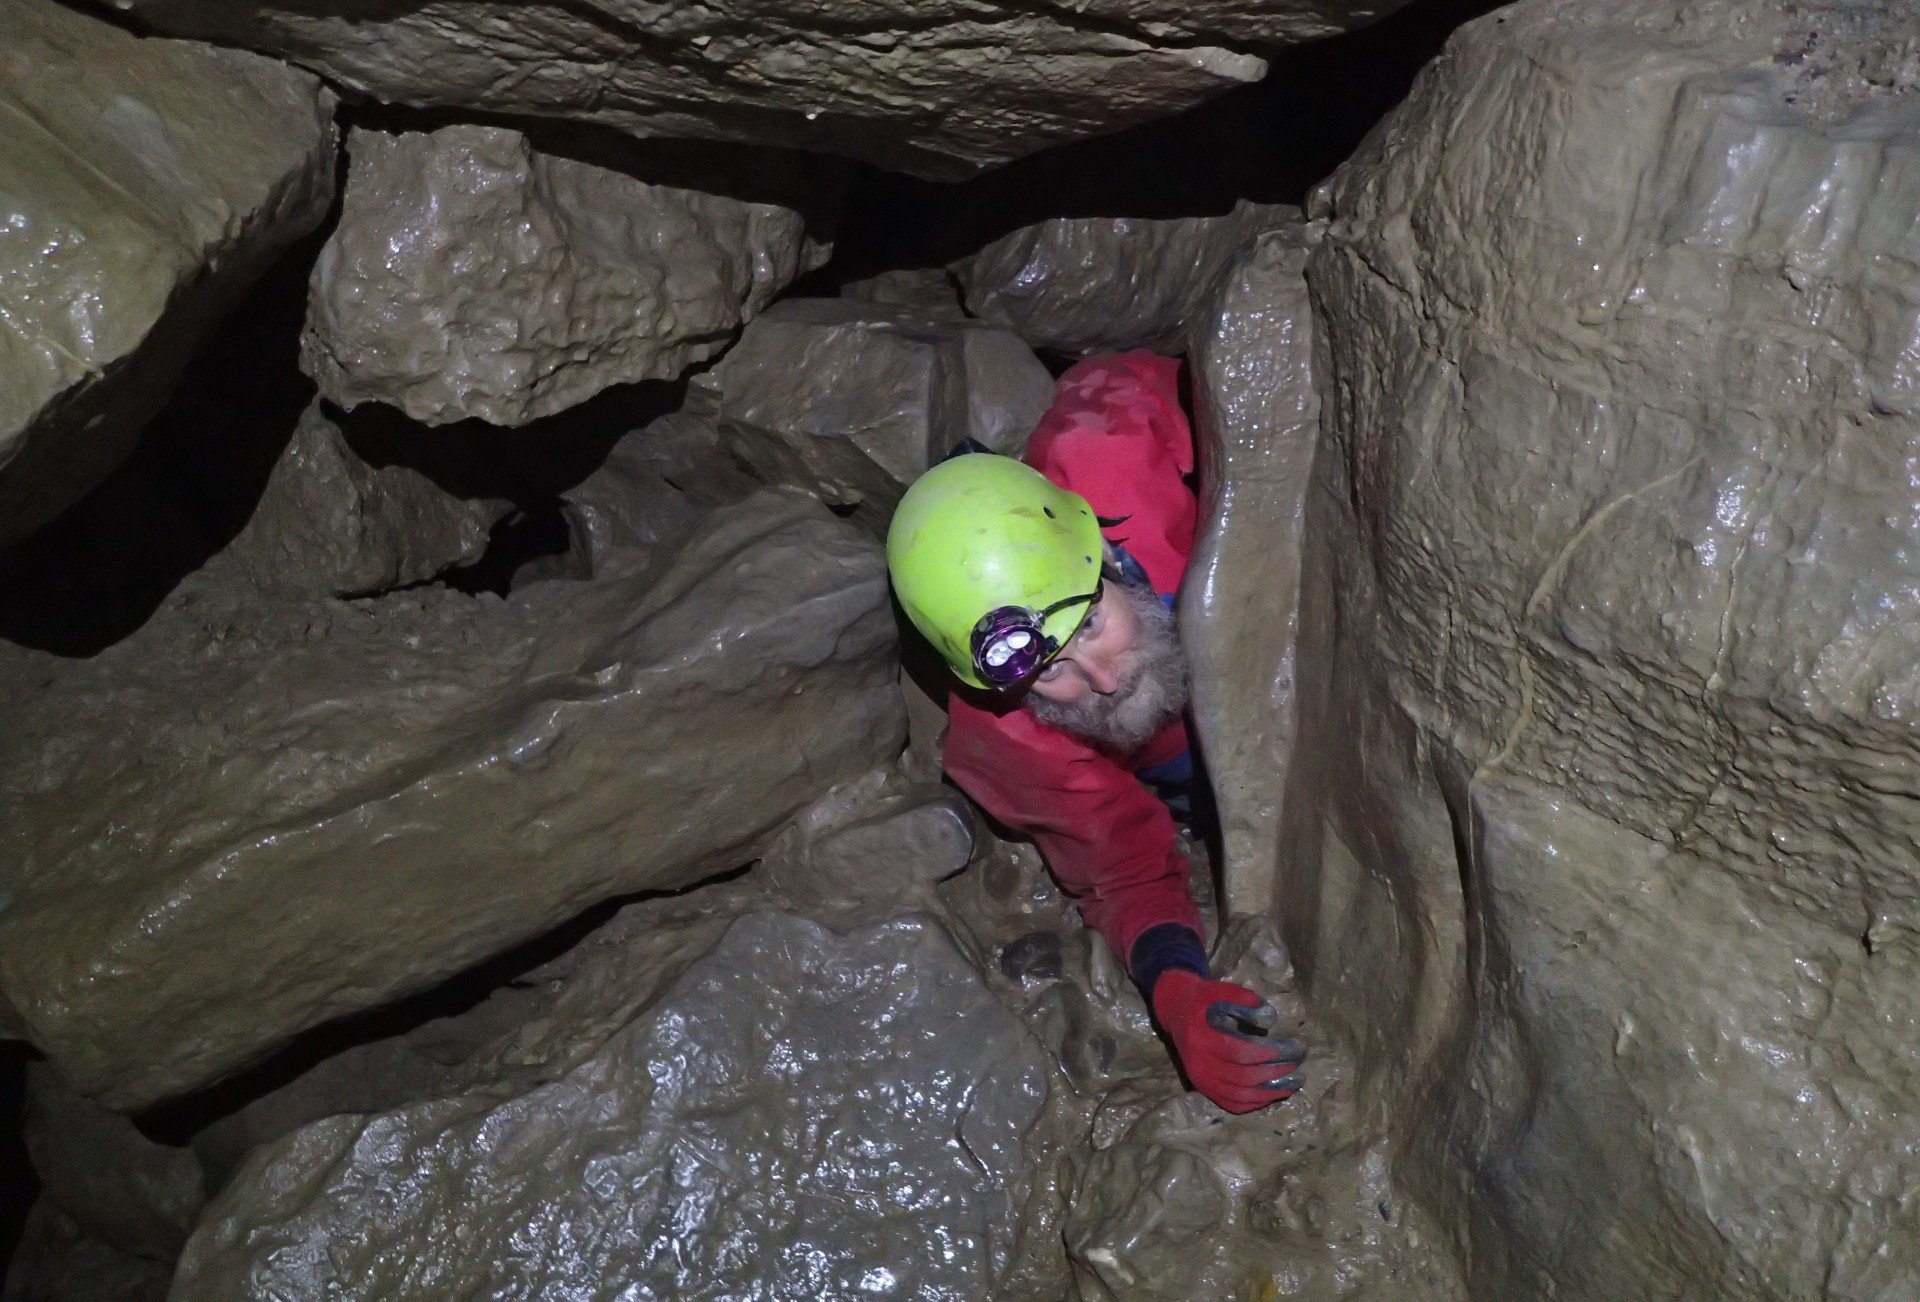
Note - Larger cavers may find the connection to Coal Cellar from Midsummer Passage awkward, so allow enough time to turn back or do the circle in reverse if you think you might have a problem.
Route Description
The route described here navigates the circles in a clockwise direction, as most people find Coal Cellar Passage easier going this way. It also gives more options for variations of route if you find you don’t have enough time for the full circuit of both circles.
Entrance Series
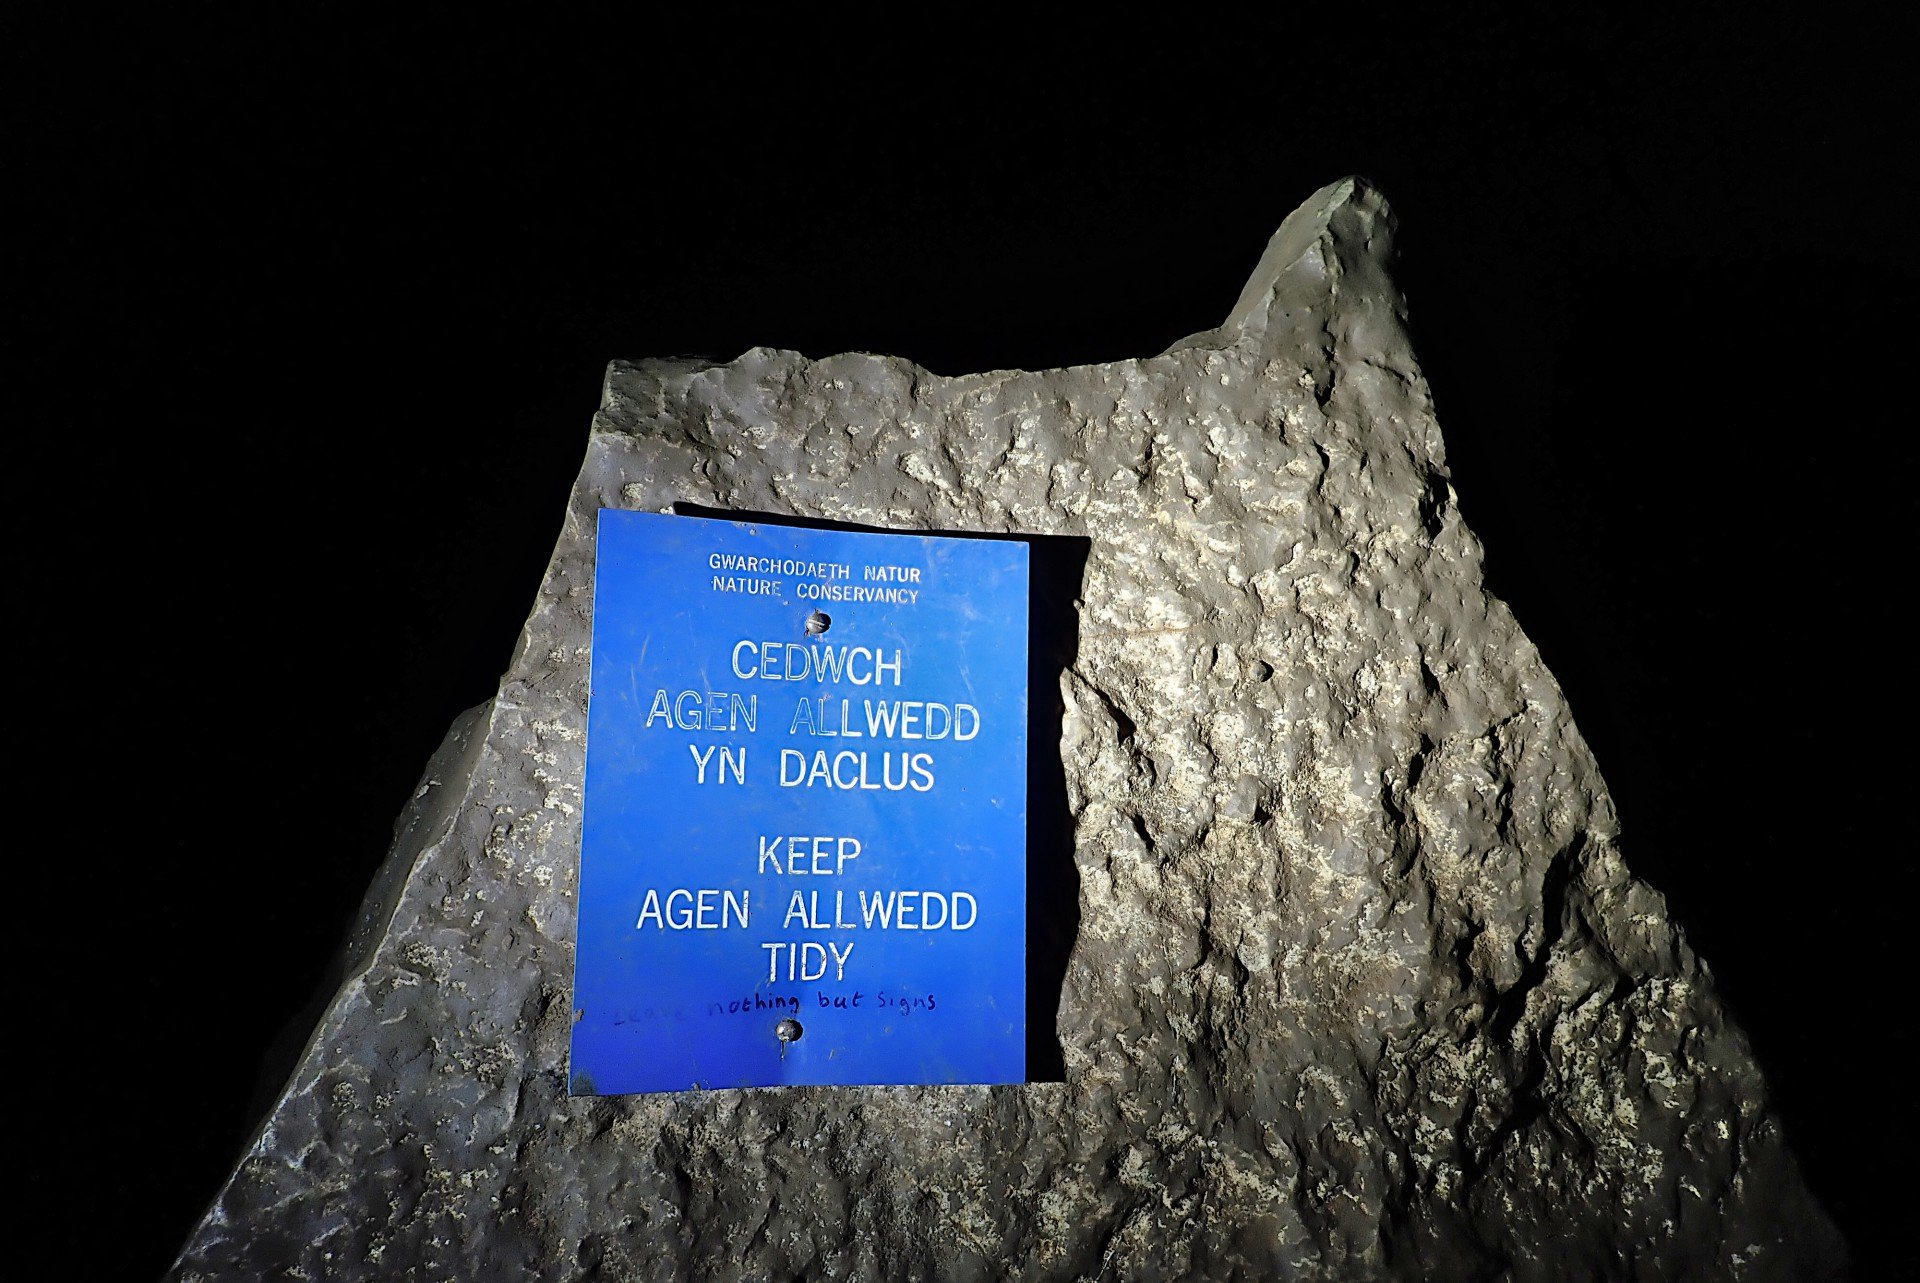
The log book is situated just inside the entrance, please use this to indicate your intended destination and time out. The Entrance Series is a fun, sporting collection of wedged boulders to hop over, narrow rifts to squeeze through and short crawls and climbs, all of which is well trod so you can basically follow the caver-polished route. The key thing to remember when heading into Aggy is always take the left-hand route when you reach a junction. Following this golden rule you shouldn’t go too far wrong but be aware that some of these are low down so can be easily missed. There are a few higher level passages heading off along the way, but these are bat roosting sites and should be avoided.
Beyond the initial rifty sections, at a point when the passage takes on a larger scale (just after you emerge from a slot behind a boulder), look for a climb over the rocks on the left. This provides the easiest route of continuation, while taking the more obvious straight ahead route ends at an awkward climb and squeeze to regain the way on. Continue on this high level until you reach then end and a taped off section and sign is visible ahead, then descend the smooth sided hole through boulders in the floor. Below, there are more holes in the floor, but continue to the end and descend into a passage heading off to the right. Then take the side passage almost immediately on your left, which is low down and easy to miss. A small streamway is met and from here on the route is straightforward, with a knobbly crawl over polished rocks ending at climb up to gain the impressively sized Baron’s Chamber, near a blue sign attached to a boulder. Take note of your location as you emerge from the climb as it’s partially obscured and easily missed on the return.


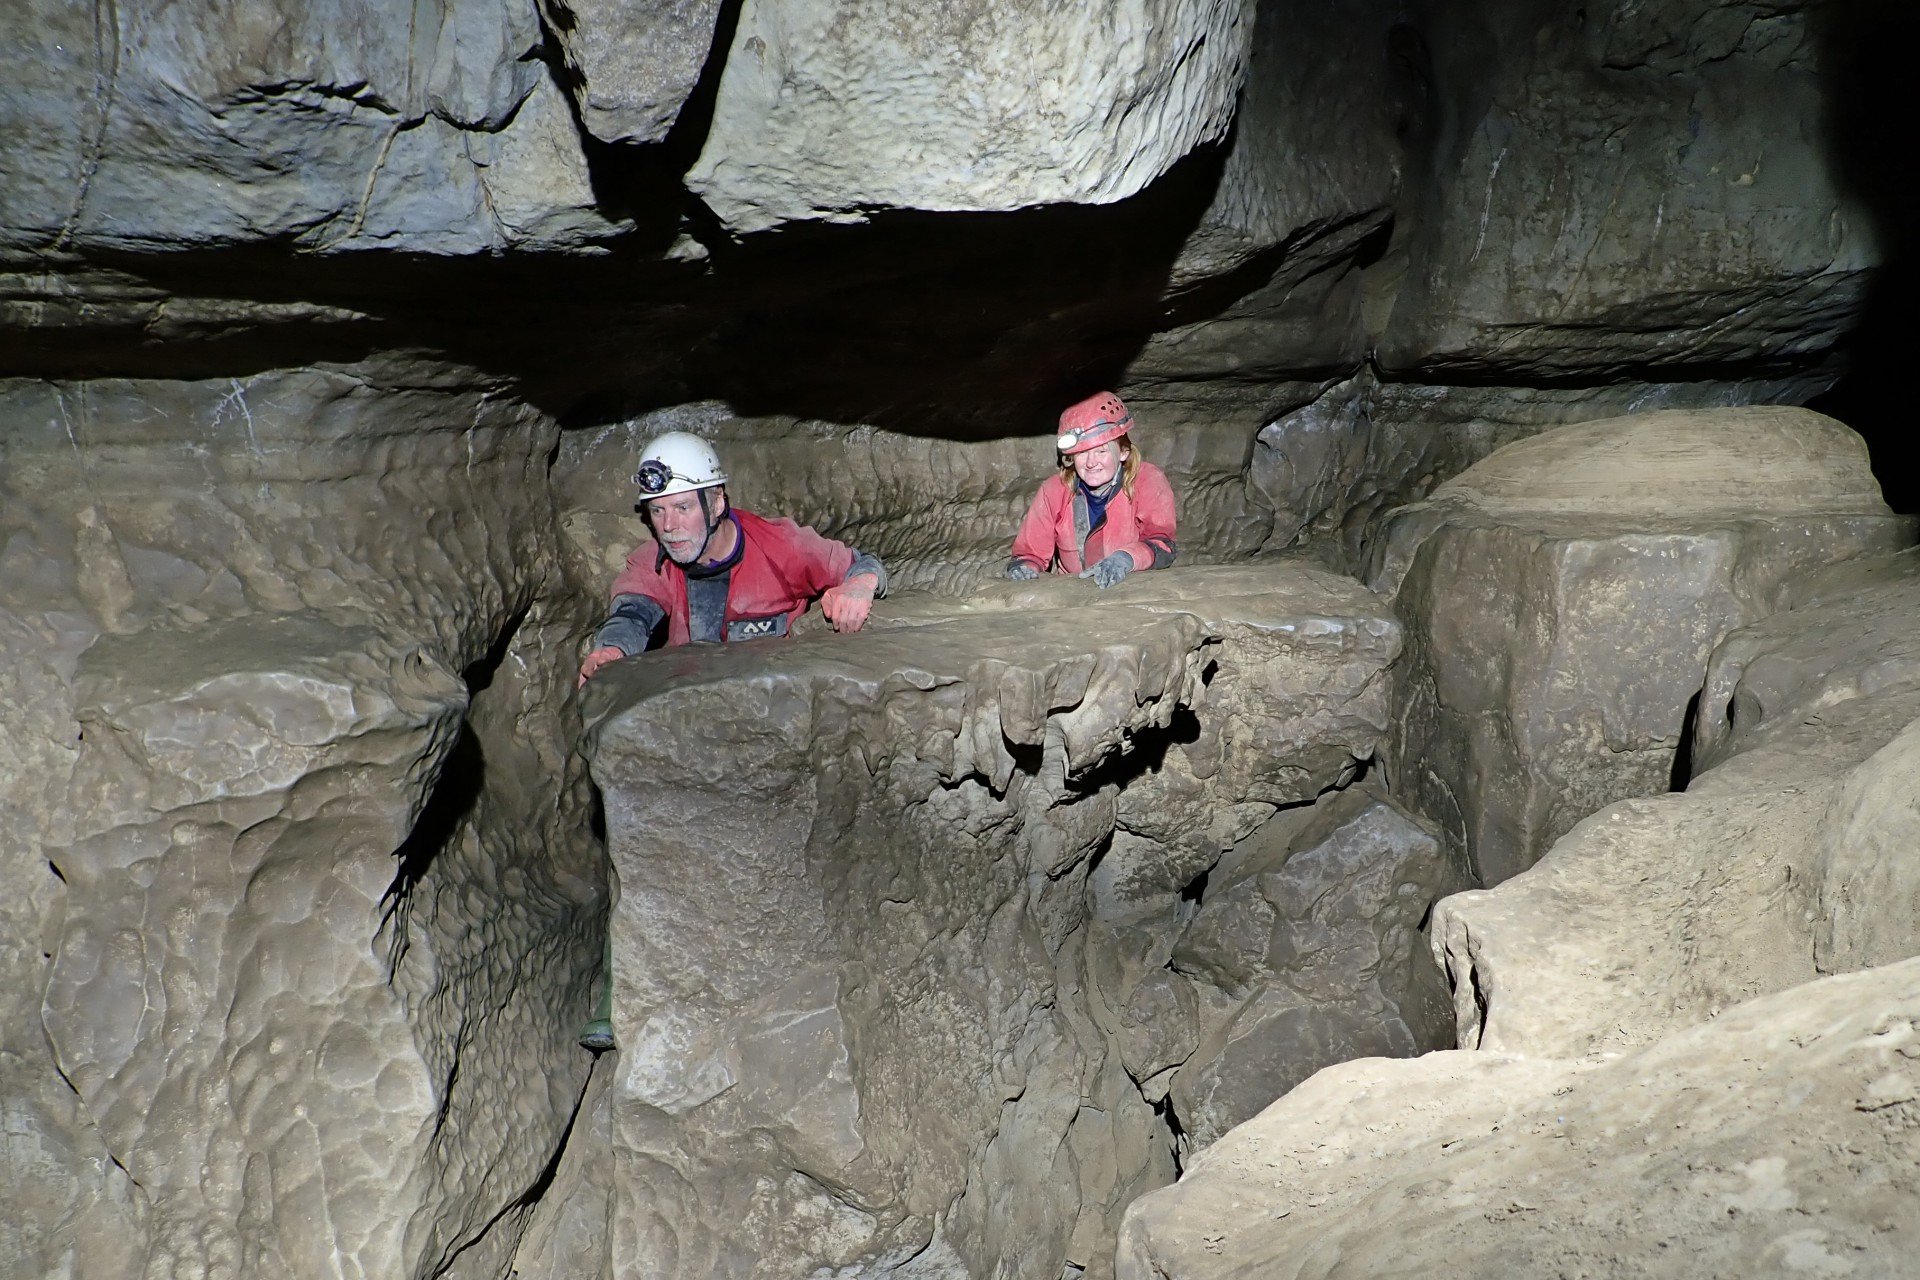
Baron’s Chamber to North-West Junction
Take a moment to admire the scale of this magnificent part of the cave before continuing on down Main Passage. Upslope from the blue sign soon closes down at a boulder choke, so head down this mighty boulder-strewn passage until the next junction. At the lowest point an obvious climb down into a passage straight ahead leads to Main Stream Passage via a short crawl. The inlet on the right doesn’t go very far, so the way on is to continue straight ahead down the wide streamway. This is littered with large boulders to climb around and over for quite a distance. There’s no optimum route here so just aim for whatever seems the easiest and look for the well-worn sections. Ignore the passages heading off on the right and follow the stream to reach Second Choke. Here climb the boulders on the right and go through the smoothed hole to the continuation of the passage, which soon reaches a short drop with a fixed rope. Up and to the left of this is the route to Midnight Chamber, but the way on is the climb down. This is quickly followed by another drop, but instead of climbing down directly, use the fixed rope to gain access to a tube on your right and make a careful descent down to the streamway at the end.
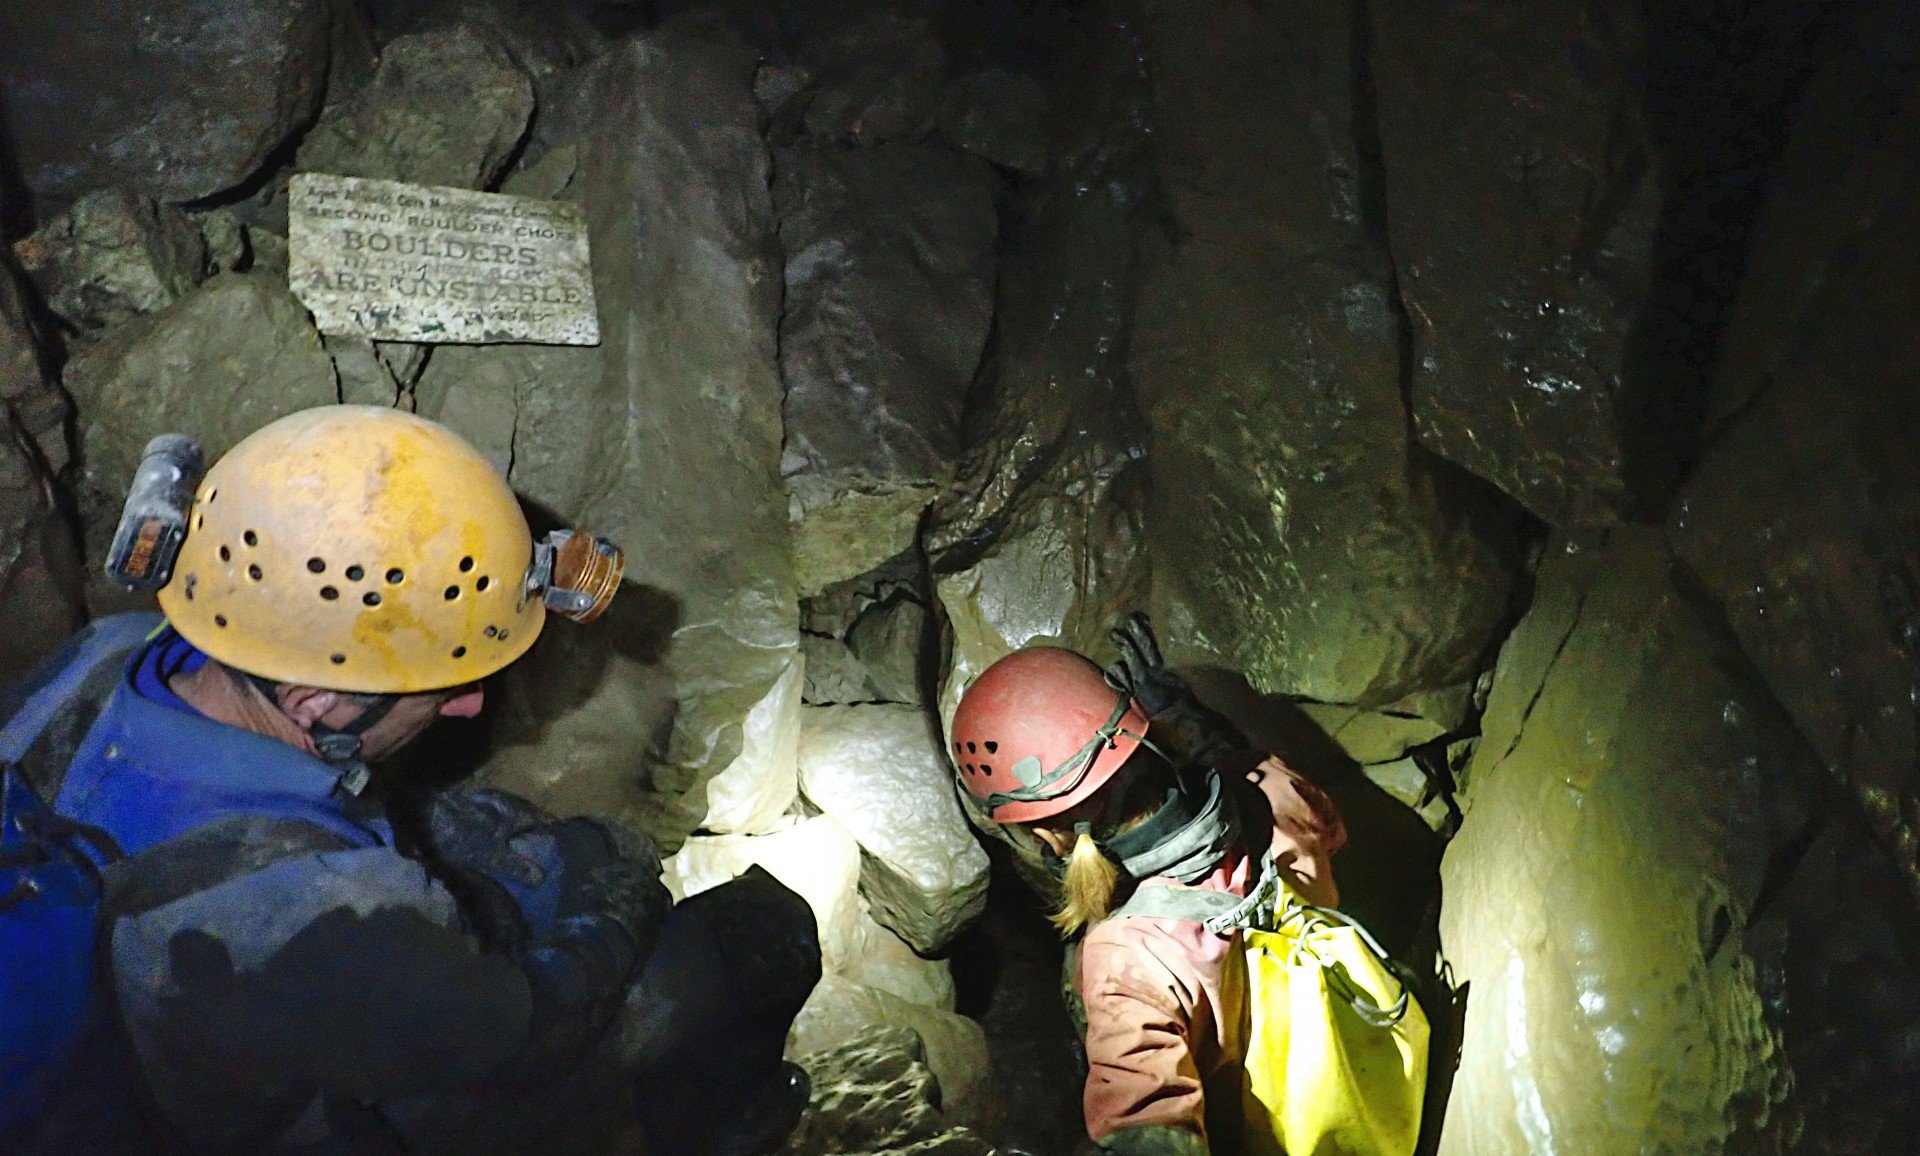
Follow the streamway briefly, then pass through a crawl on the right avoiding more dodgy boulders. At an old warning sign (“Boulders Unstable”) go through a well-worn gap in the boulders below to reach the streamway once more. This is initially a low crawl, but soon becomes pleasant easy travelling leading up to the wide sandy floored Keyhole Chamber. There are two routes back down to the stream from here. Either head down at the start of the traverse, along a ledge to a short drop behind a boulder, followed by a corkscrew down through smooth boulders. Or (preferable as it avoids a low wet section of the streamway) continue in the wide open passage with a fixed traverse line to the right. Here you can either jump across the canyon or carefully use the traverse rope to reach a roped climb down.
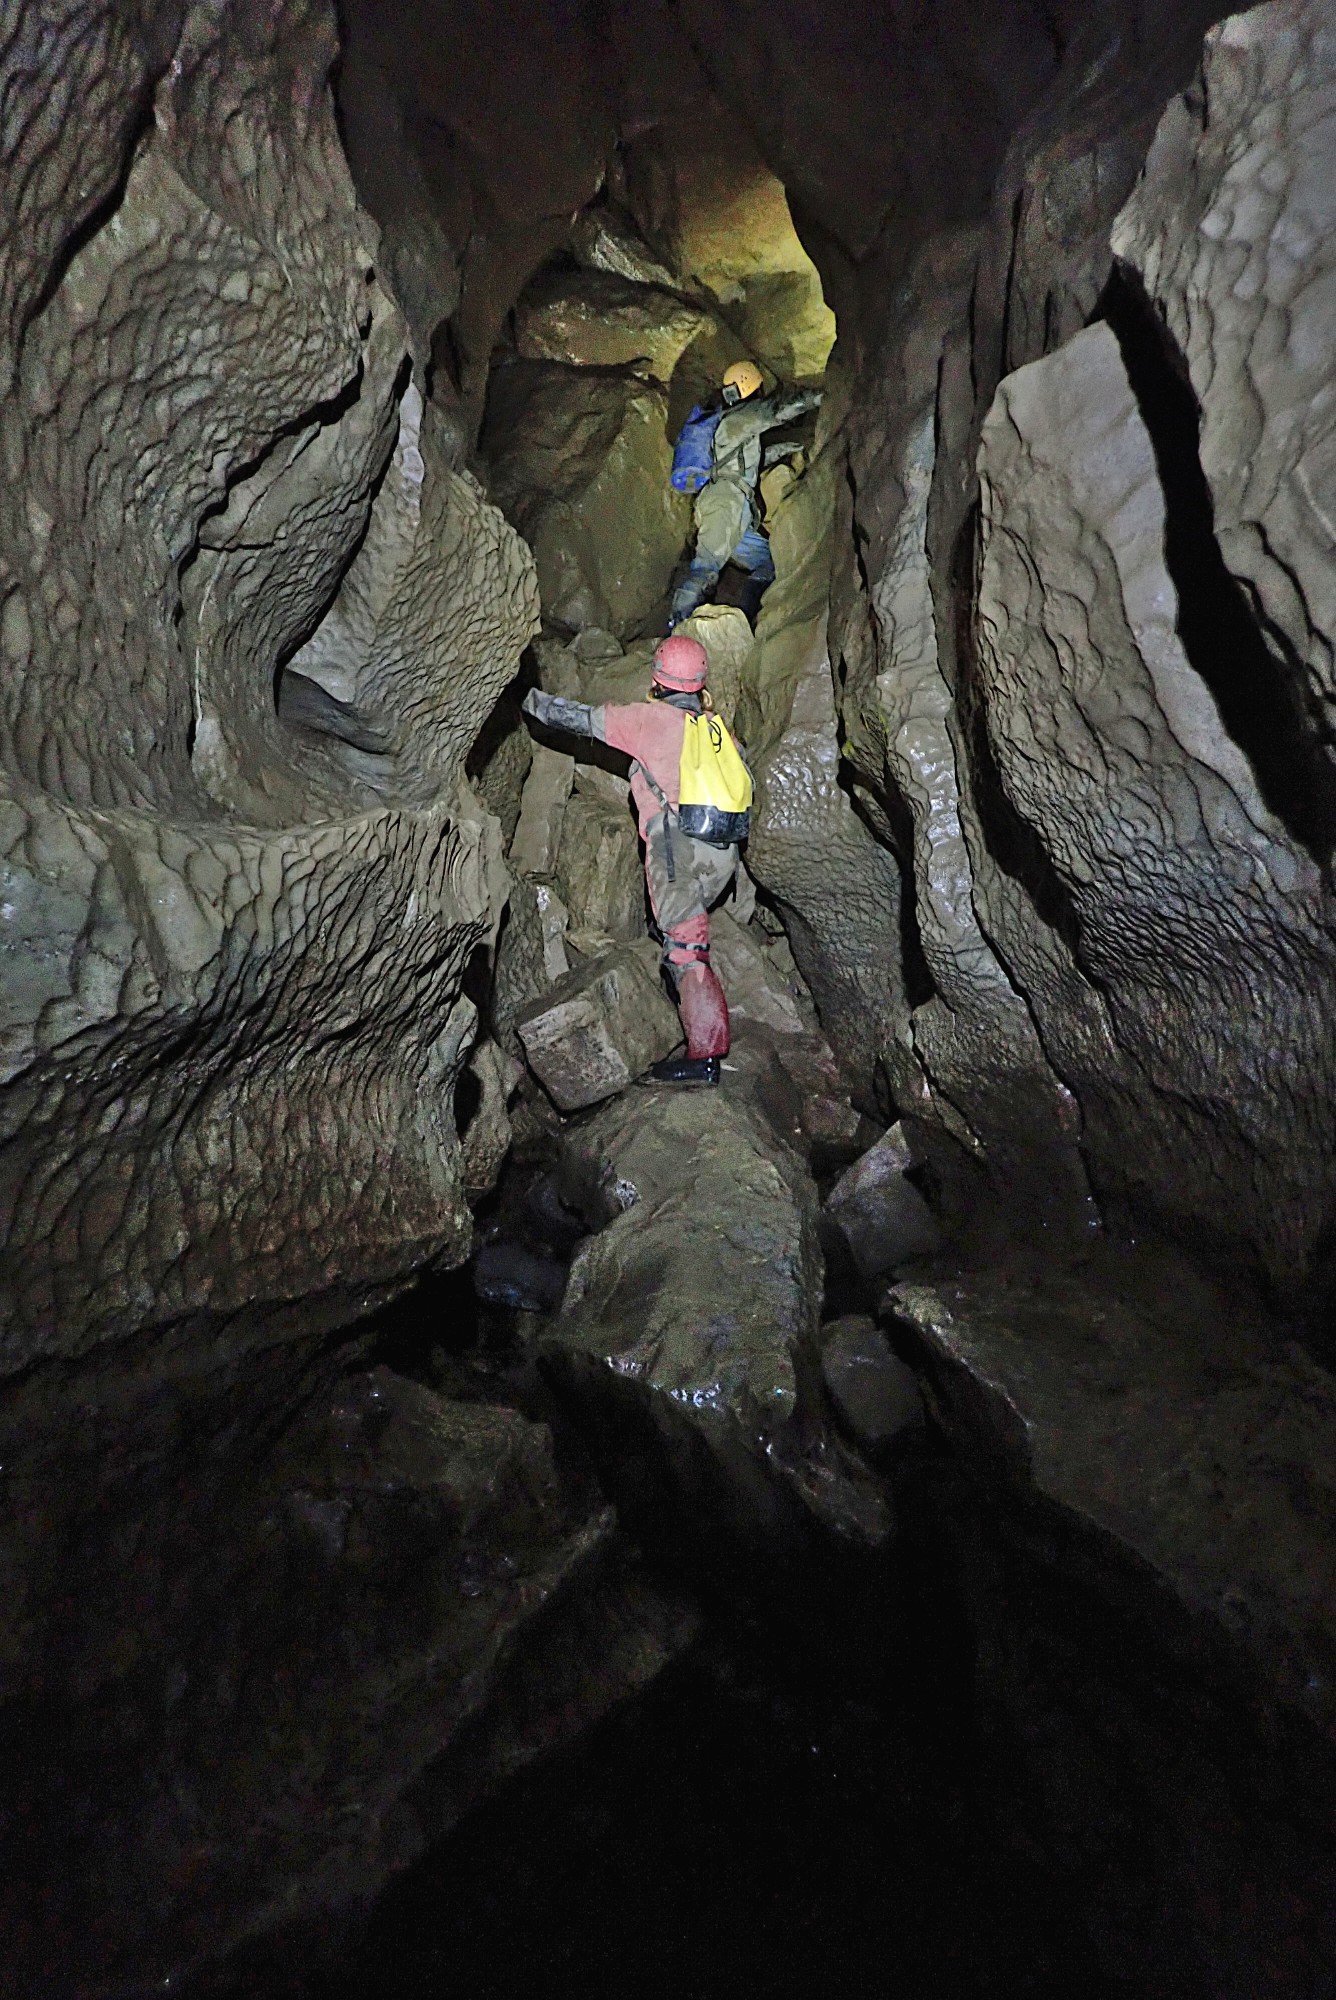


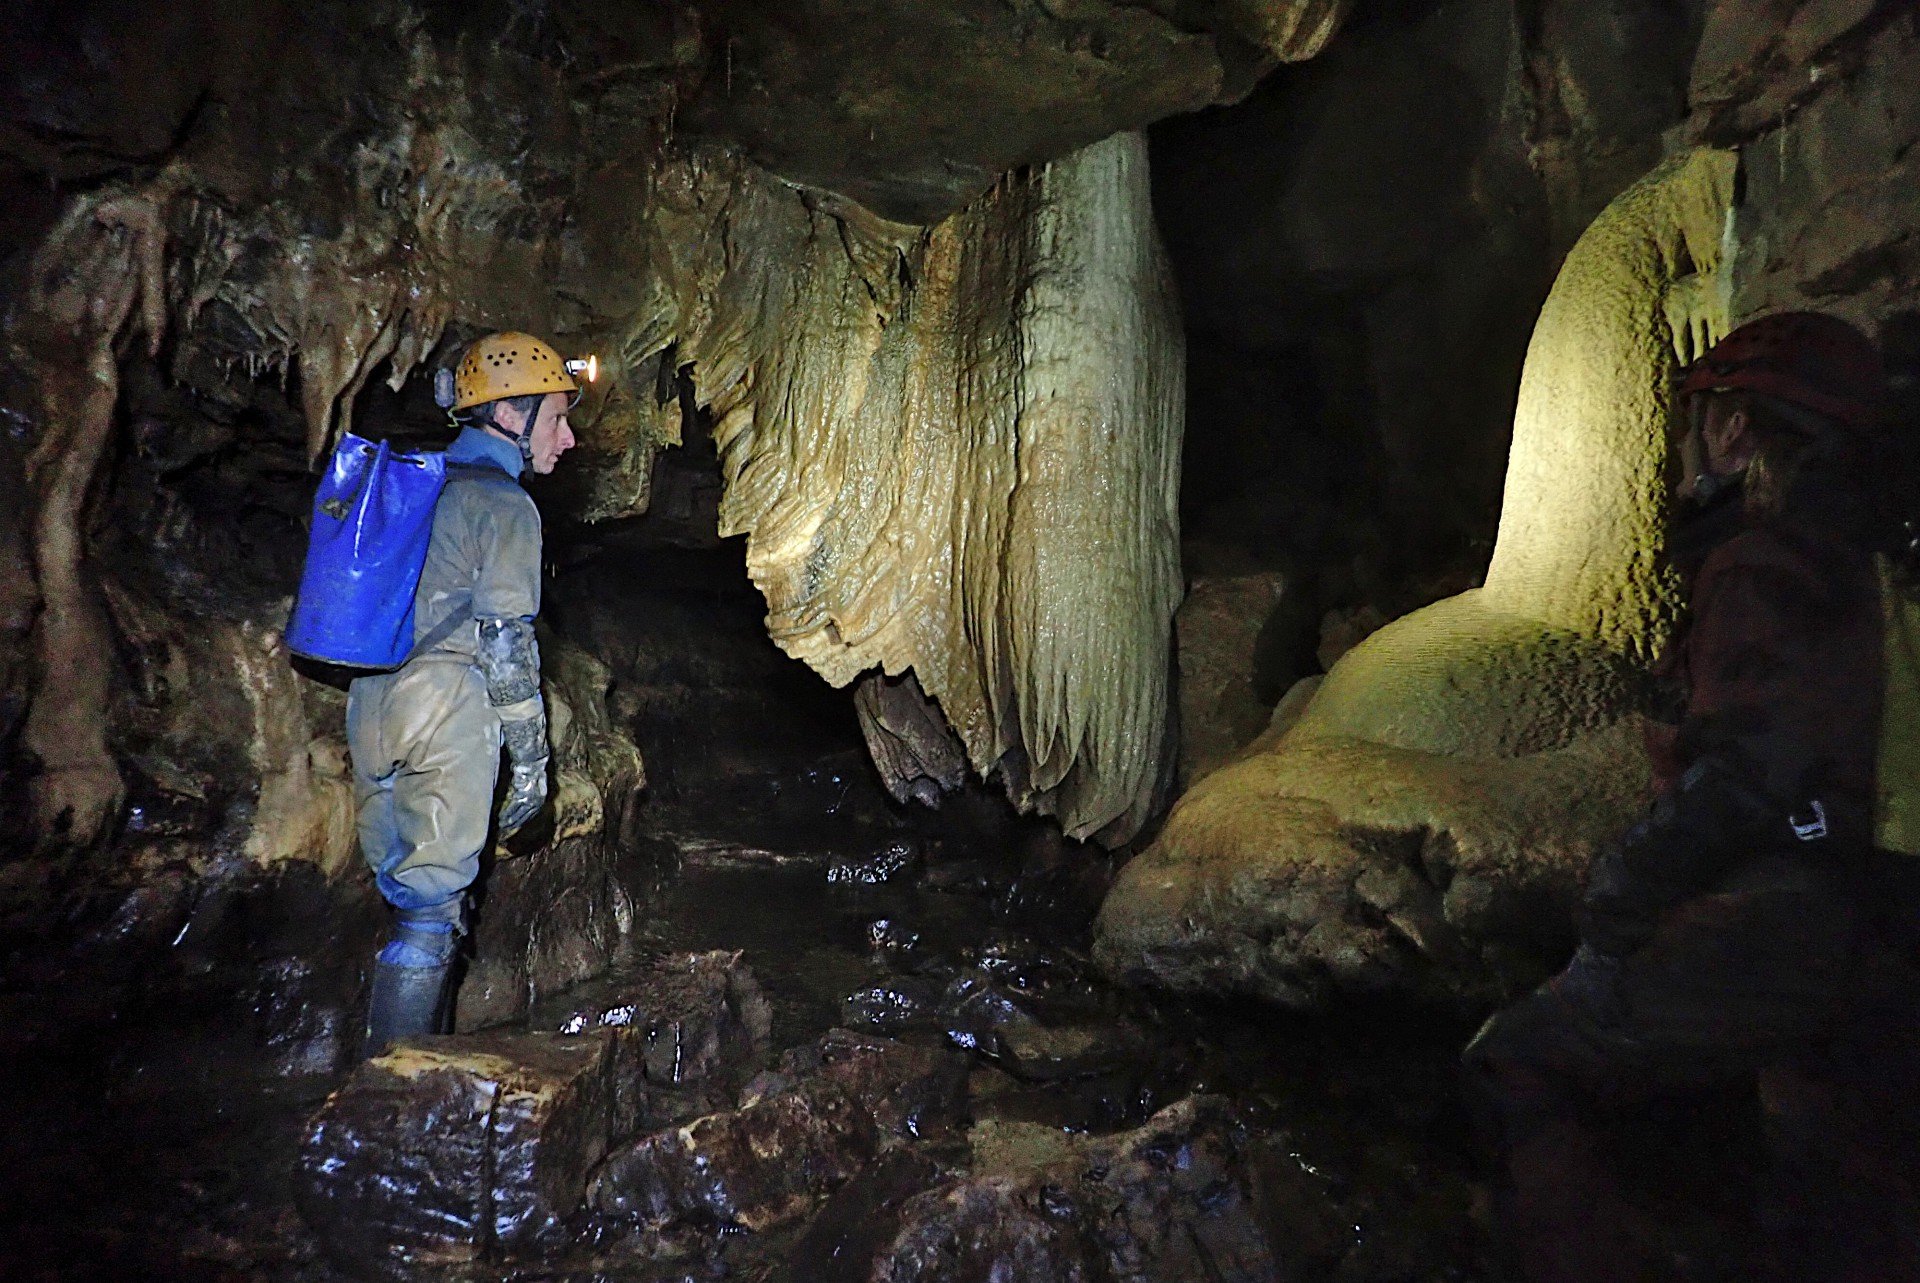
At the bottom of either route simply head downstream. The stream passage becomes quite sizable and pleasant, only trouble is that it’s ridiculously slippery so you need to tread very carefully. The water from the Ochre Inlets at the beehive formations is safe to drink (despite it being orange!), and there’s a cup there for this purpose. Beyond this the next major landmark is Northwest Junction. This is really obvious with a large block and the continuation of Main Stream Passage on the left, joined by water flowing from Turkey Streamway which is straight ahead. Heading left here would join the Grand Circle route and Cascade Inlet, but our route takes us up Turkey Streamway. This is easily the best streamway in Agen Allwedd, not only is it big and impressive with nice formations, it’s also not slippery which is a nice respite after Main Stream Passage.
Turkey Streamway to Summertime Series
There are no route finding difficulties along Turkey Streamway, it’s basically just a case of following the water and enjoying the formations along the way. The only drawback is that it’s very, very long. There are a few different passages heading off at various points, but most are quite obscure with the exception of Turkey Junction. Here a huge boulder dominates the streamway, with Coal Cellar Passage entering on the right, and it’s from here that you’ll be re-joining the main route on the way out. However to do this trip clockwise, keep left of the huge boulder to continue up the streamway. The next notable part of the trip is Turkey Pool, where the challenge is to not fall in. Approaching Turkey Pool, it looks very much like you’ve reached the end of the passage and there’s no way on, but look around the corner on the left and you’ll see the narrow rift. The water here increases in depth quickly and you can either brave the chest deep water or wedge/traverse along using the ledges beneath the water. It widens out at the end, and there’s a handy fixed rope to help with the manoeuvre back to shallower water. Then continue along the streamway until the only way on is a boulder pile on the right ascending into Turkey Chamber. Climb the boulder slope, but don’t continue to top of the chamber, instead head left into Valentines Passage and shortly afterwards climb down the large boulder slope on the left to regain Turkey Streamway. After a short distance of walking up this large streamway, look for an obvious passage to your right. This is Hawkin’s Horror and can be easily missed if plodding along on auto-pilot; if you find yourself stooping under wedged boulders then you’ve gone too far. Hawkin’s Horror heads upslope and looks a bit like there’s no way on when it diminishes in size, but then it pops out into the eastern end of Sand Caverns. You are now in the Summertime Series. Head left along the main passage for a short distance then climb the boulder slope to a balcony on the right, where the archway leading to Selenite Needle Passage is at the far right, hidden from below.

The Inner and Outer Circle
At this point it’s worth having a time check. Bearing in mind that you are still less than halfway through the circuit and heading back via Coal Cellar Passage is more time consuming than the way you have come, you may want to consider adjusting your trip if you’re short on time. If so, the following options are available to you: a) Do only the Inner Circle and return the way you’ve come. This takes in most of the highlights, but has more repetition. b) Do only the Outer Circle with a short diversion to the Swiss Village. This has the advantage of less repetition in heading back via Coal Cellar Passage, but is more arduous. Or c) Abandon the idea of doing either circle and head straight on into Sand Caverns instead to have a quick explore of the impressive passage there before heading back.
To continue on our intended route head into Selenite Needle Passage. This starts low but gains height further along. There’s quite a bit of crawling here, but it’s relatively comfortable with an interesting roof and selenite crystals decorating the way and beyond this the passage become more of a sandy floored canyon. The first proper passage heading off is Spiral Passage on the right – this is a pleasant but complicated network of passages so best saved for another day. Further along, Western Avenue heads off on the left. This is quite nice and worth a short detour if you have the time, however Central Avenue just a short distance further is muddy and awkward so best ignored. Not far beyond this a large junction with an oxbow is met; you have now reached the start of the Inner Circle. This passage is Eastern Avenue, and the point at which you need to decide whether to continue on along the Inner Circle route, or head back along the Outer Circle route.
If doing only the Outer Circle, head right at this point and follow the stream until you reach the vast and impressive Midsummer Passage. To visit the Swiss Village mud formations head left to reach the junction at the end of the Inner Circle route, then take Swiss Passage heading to the right. There’s nothing but glutinous mud to see beyond the formations, so head back to Midsummer Passage and follow the route description below from the point marked with (*) to continue.
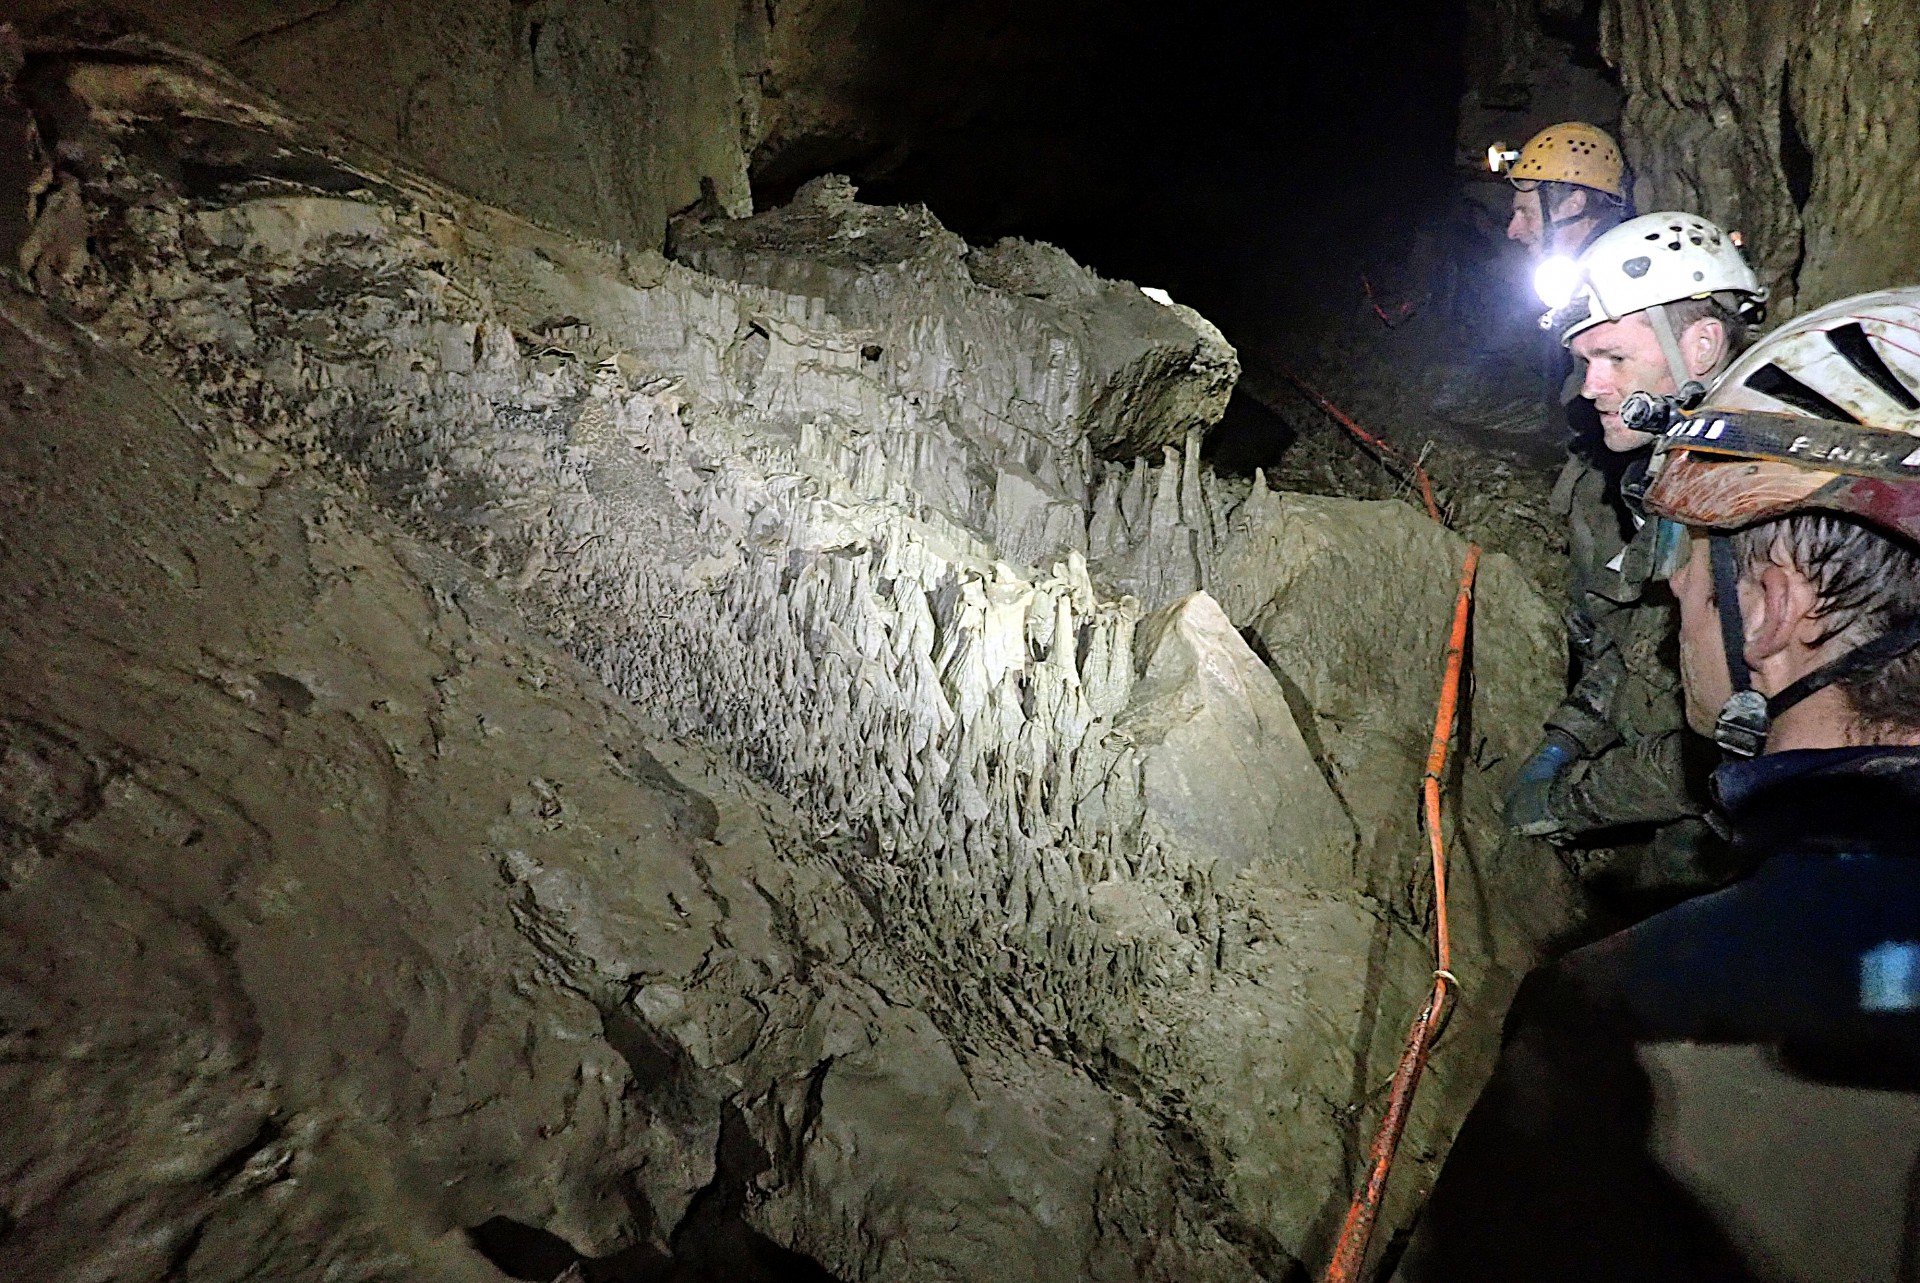
To do the Inner Circle, head left up Eastern Avenue. At a point where a stream flows from a passage on the left, head right to reach a larger passage leading on to Inner Circle Chamber. Climb a large boulder slope (there are a few of these on this route), then take the passage over boulders on the right. This leads on to Bat Chamber before reaching a junction. Left here takes you to Disappointment Chamber, but right is the way on. The passage dimensions then increase significantly and the massive junction with St Paul’s Passage is met. Ignore the left-hand passage; instead continue straight ahead and up another large boulder slope leading to the magnificent Dome of St Paul’s. This is best appreciated by lying flat on the floor beneath the impressive dome. Beyond this the passage descends downslope to meet Scree Passage, which then descends further until reaching the junction with Midsummer Passage. To visit the Swiss Village mud formation, go straight ahead at the junction into Swiss Passage. This starts nice enough, but gets progressively more muddy as you go and is pretty glutinous by the time you’ve reached the formations. However, it’s all worth it to see this natural wonder. There’s nothing beyond the Swiss Village, except more mud, so head back to the junction and turn left into Midsummer Passage. After a short distance you’ll find Eastern Avenue heading off on the right, this leads back to Selenite Needle Passage. If your plan is to do only the Inner Circle and skip the narrow confines of Coal Cellar Passage then take this route to regain the junction encountered at the start of the Inner Circle route and head back the way you came.
(*) To continue on and complete the Outer Circle follow the massive and boulder strewn Midsummer Passage. This continues for some distance until all of a sudden the way on is no longer obvious. A massive collapse blocks the main passage and time can be wasted looking for the route through. At this point look for a crawl low down on the left-hand wall, this is a bit small and scruffy but soon regains the larger walking passage. A little further along this lowers to become crawling once more, before emerging once again in large passage. At this point you’ll need to start looking for the connection to Coal Cellar Passage. The entrance to this is on the right-hand side of the passage and is easy to miss as the view is obscured by boulders (there may be an old coiled rope nearby which is a handy marker). If you find yourself in a low, wide crawl, you’ve gone too far and are heading towards Recharge Passage. The descent into Coal Cellar Passage is a bit of a squeeze and can be difficult for larger cavers. The trick is to try to stay high while you post yourself through the slot, and once you’re past the initial pinch-point a slide down drops you into the small streamway. From here the route through Coal Cellar Passage needs no description, it’s basically just one long obstacle course with nowhere you can go wrong. If you enjoy sporting and arduous cave passages you’ll think it’s great, if you don’t, it may feel like purgatory. None of it is really that bad, and the squeezes are quite fun, it just goes on for longer than you may like. Eventually familiar territory is met as you emerge into Turkey Streamway once more. From here simply head back downstream and return the way you came in.

Written by Mandy Voysey. Photos by Matt Voysey, Dan Thorne, Paul Tarrant.
Download Printable VersionSpotted an error in this route description or want to leave feedback? Contact the Webmaster.