Summary
Ogof Craig a Ffynnon is an excellent cave with a good variety of formations and impressive cave scenery to see. A trip to the Hall of the Mountain King is an ideal introduction to the cave and a good destination for anyone wanting a 2-3 hour trip to somewhere spectacular without wishing to do the long crawl to the further reaches of the cave. This trip involves some interesting but not too difficult obstacles including a climb, a corkscrew through a boulder choke and a section of particularly glutinous mud.
Warning - Craig a Ffynnon is liable to flood in heavy rain, with Gasoline Alley filling to the roof in very wet weather.
Tackle
There is no tackle required for this trip, as the split-pitch before Second Choke is permanently rigged with a knotted handline to assist the 7m fixed ladder and 8m climb on footplates. However a 25m lifeline and/or cowstails are recommended for additional safety.
Route Description
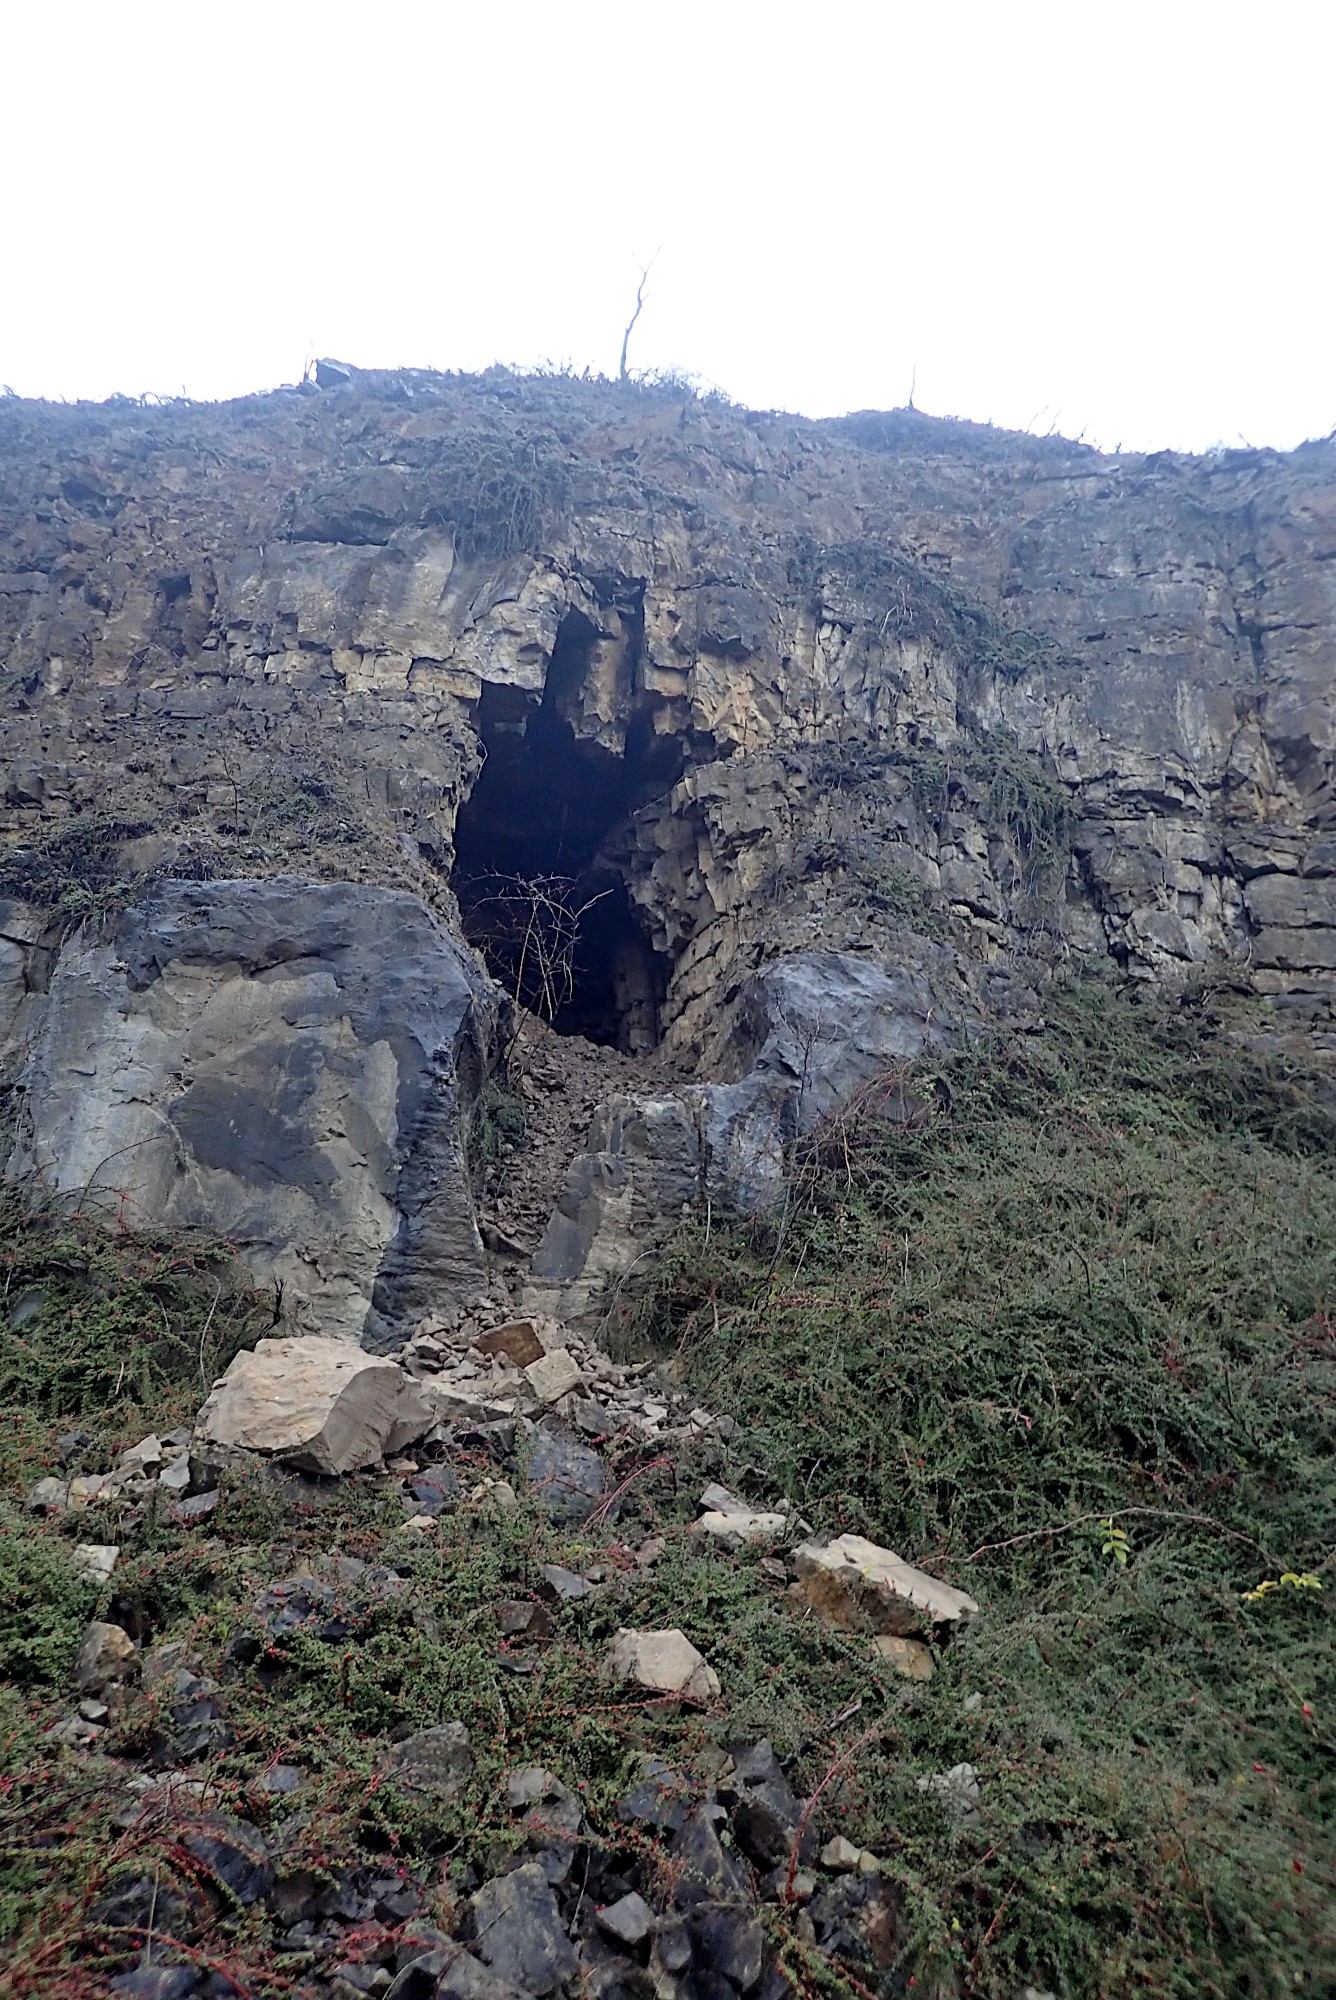
Due to the risk of rockfall, it is best not to loiter at the entrance longer than necessary. Once inside the safety of the cave it is only a short distance to the first chamber where the logbook is situated, this should be filled in with the names of those on your team. Beyond this Straw Chamber is soon reached, which has a flowstone and gour pool floor and a large array of straws on the ceiling, however this is nowhere near as impressive as what is yet to come further into the cave. Continue following the streamway to First Choke which has two short metal ladders then a scaffolded climb to emerge in a much larger passage above. Ignore the taped route heading upslope on your right as this doesn’t continue far before closing down, and instead continue to follow the streamway which lowers to a wet crawl at Gasoline Alley. This section of the cave sumps in very wet weather, so if air space in minimal and rain is forecast it would be wise to abort your trip!
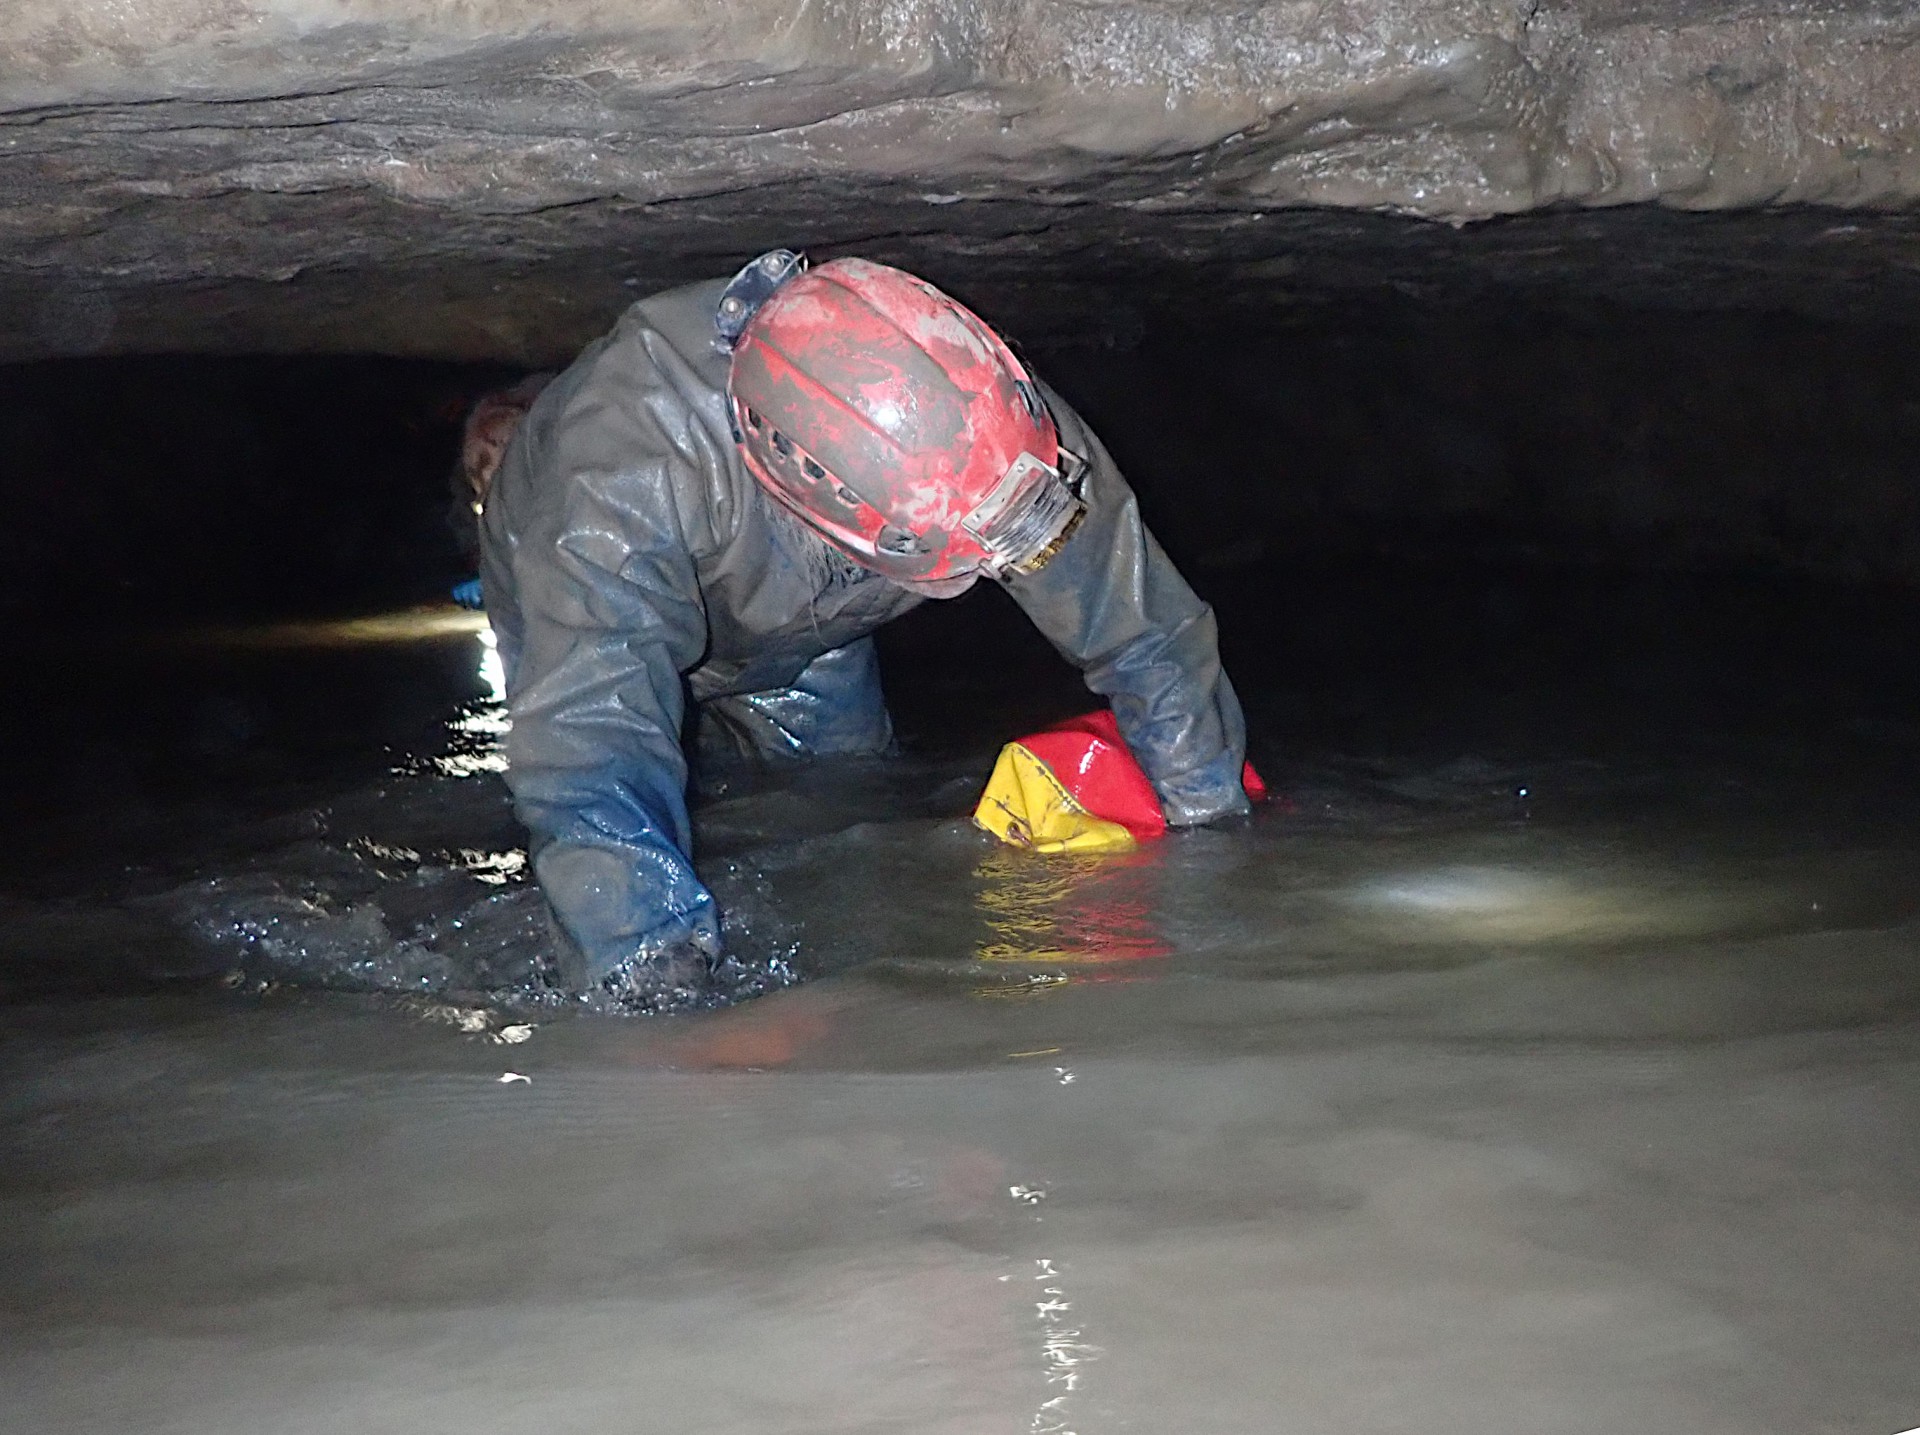
Next you’ll reach a junction, with a low and very wet tube heading off on the left. This is North West Inlet, an optional extra for anyone keen on an extended soaking in freezing cold water. This is best done in a wetsuit if possible, and if combined with a trip to Hall of the Mountain King or beyond should definitely be saved for on the way out.
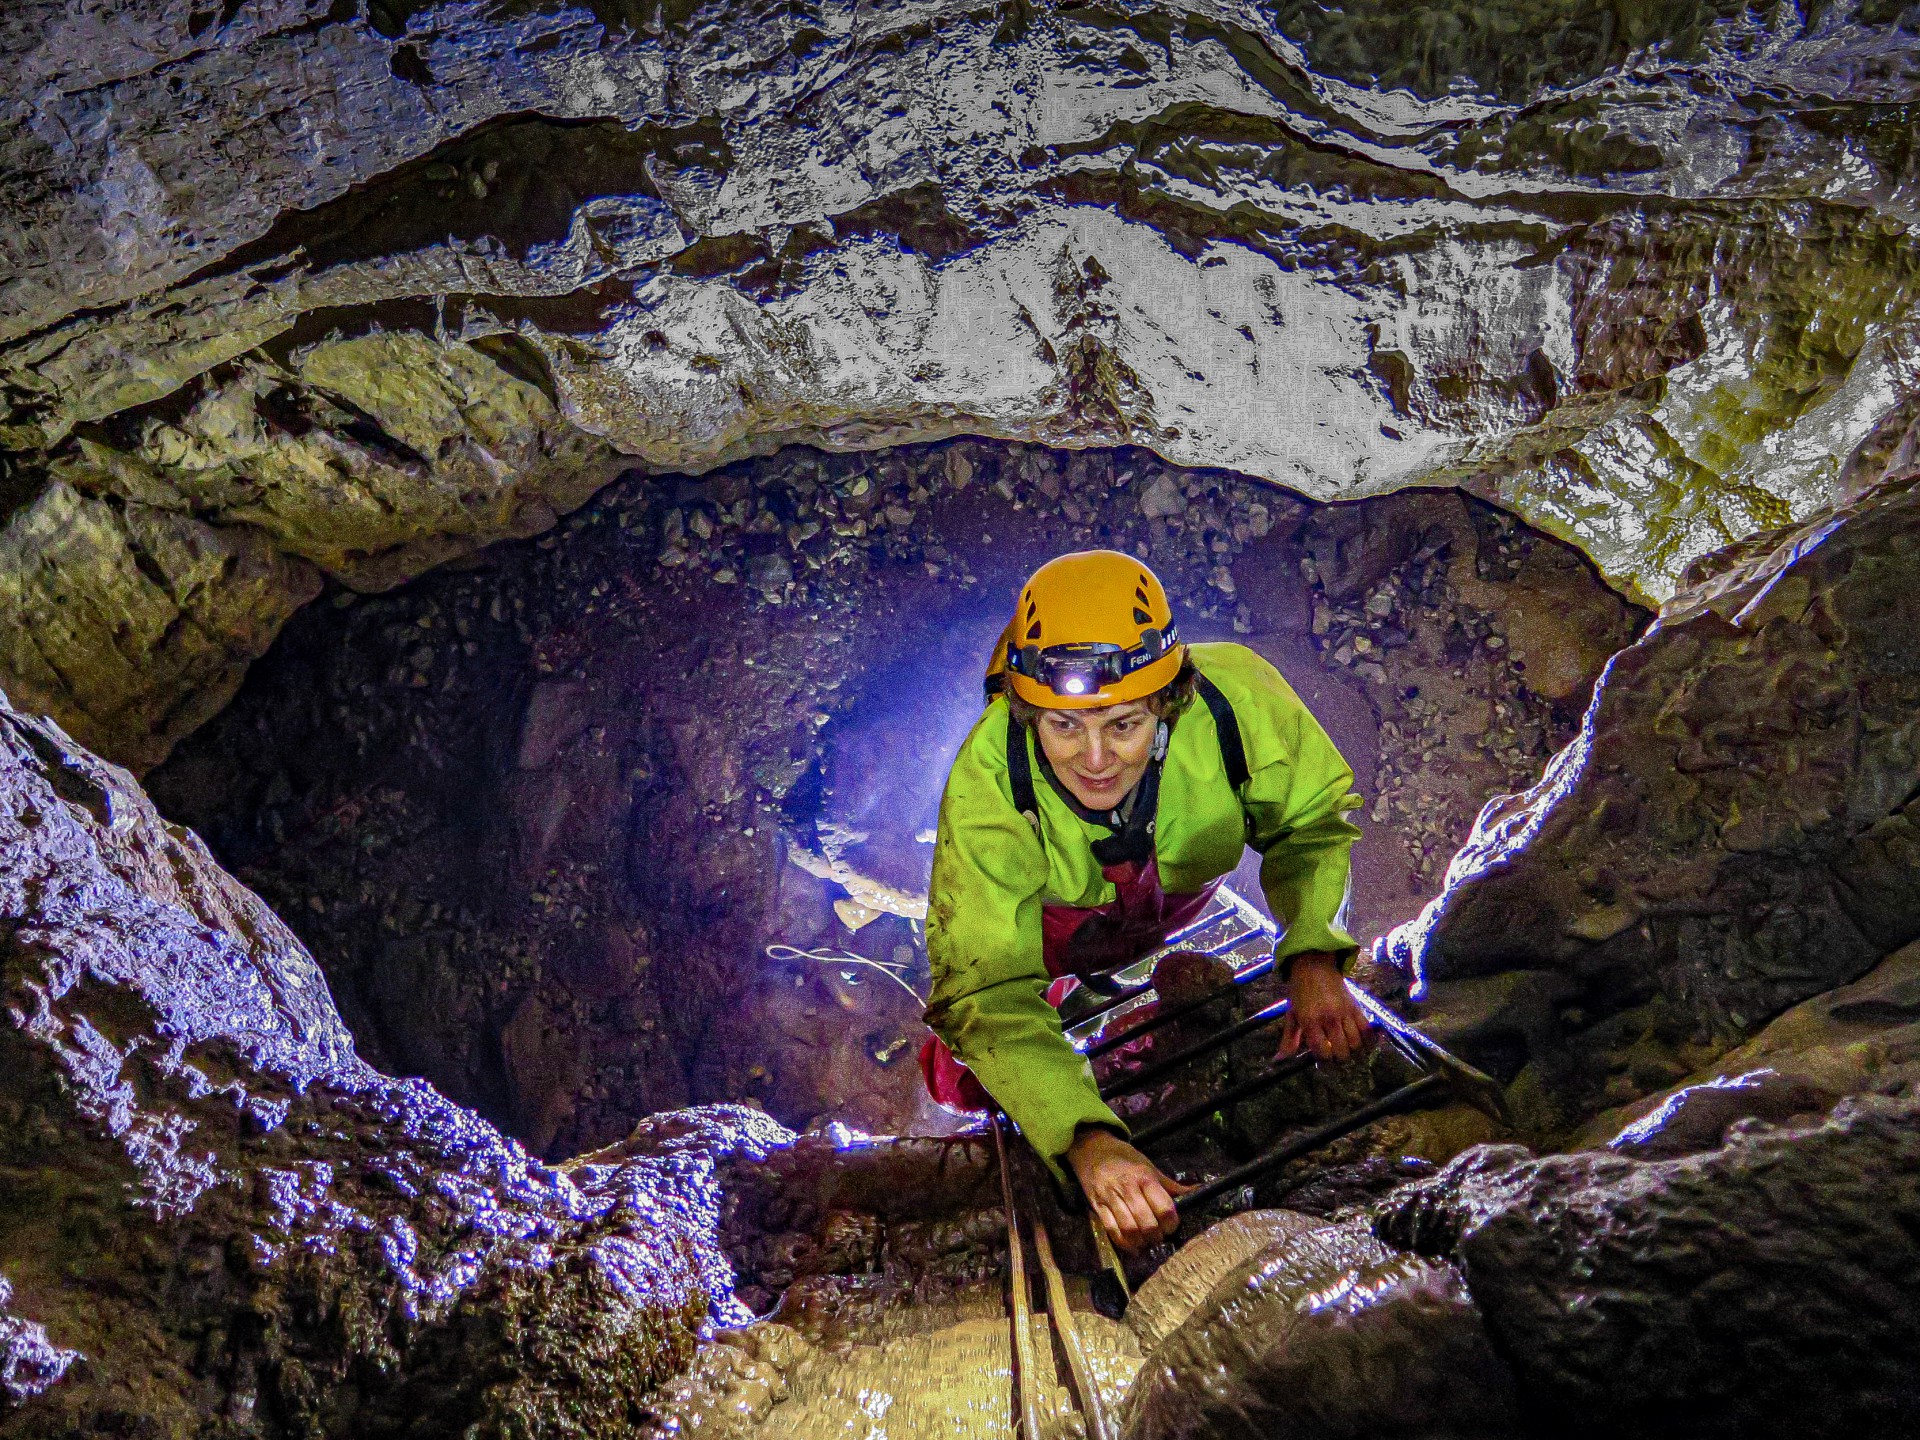
Head right at this junction and continue to follow the streamway, passing a sump on the right, before a short low crawl upslope reaches the foot of the pitch/climb. This is split into two parts, the first 7m has a fixed metal ladder to a wide ledge, and the next 8m can then be scaled using fixed metal footplates and in-situ handlines. This is quite exposed, so cowstails may be useful for extra safety. The first person up can then rig a lifeline if required for those below.
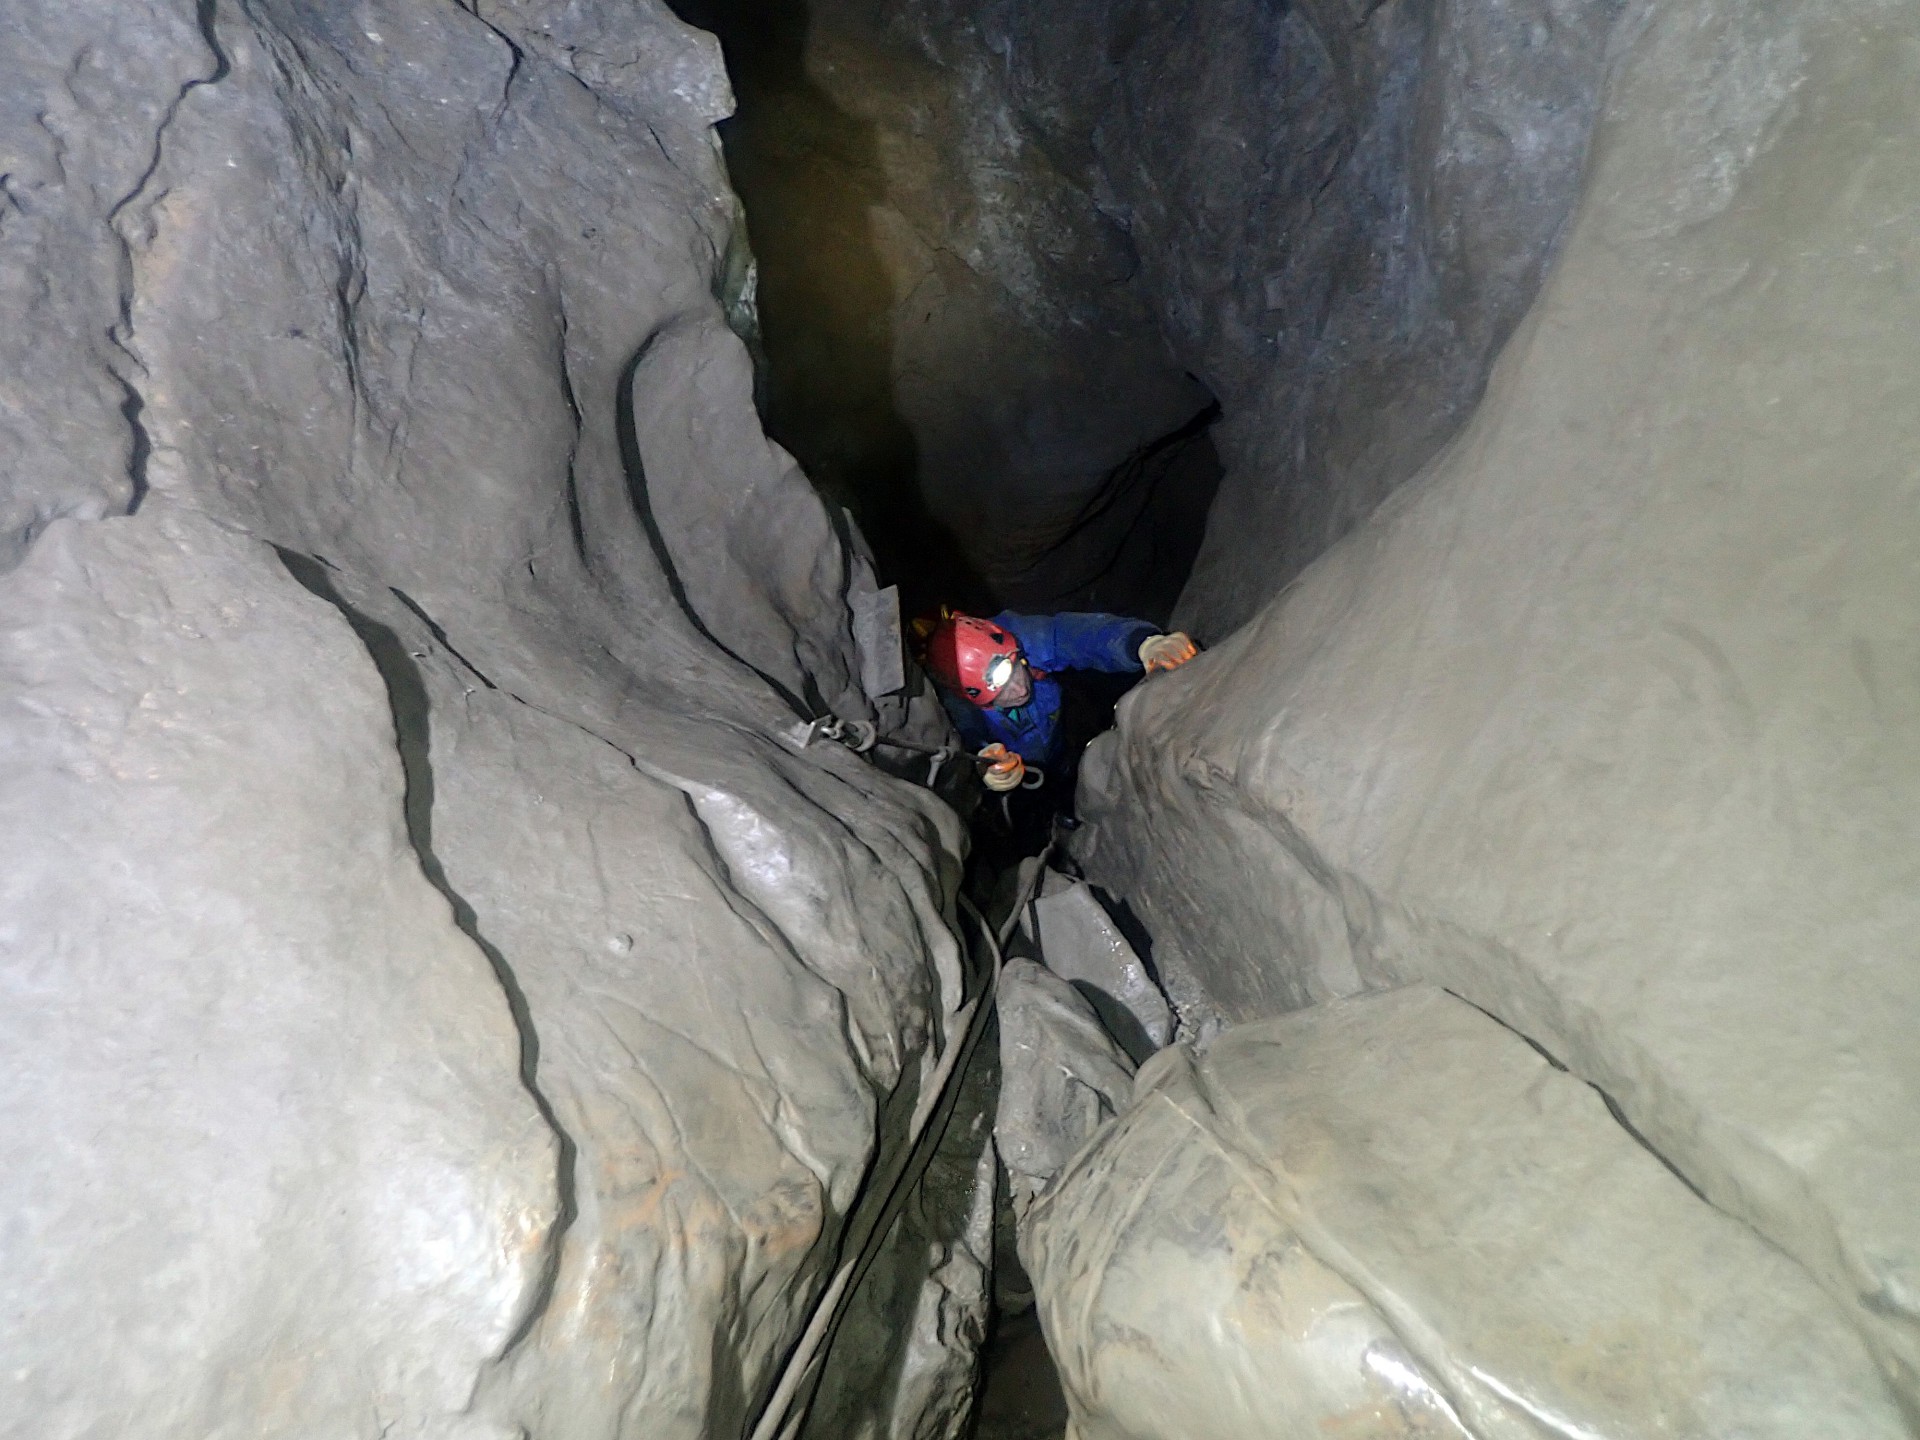
Shortly after this climb Second Choke is reached. Here the only way on is up, following the well-worn route corkscrewing through smooth boulders. This is the most confined section of the trip, but is not especially tight or difficult so most cavers shouldn’t have any problems. Descending this on the way out is much quicker and easier with gravity on your side and added lubrication from the next notable obstacle, the mud!
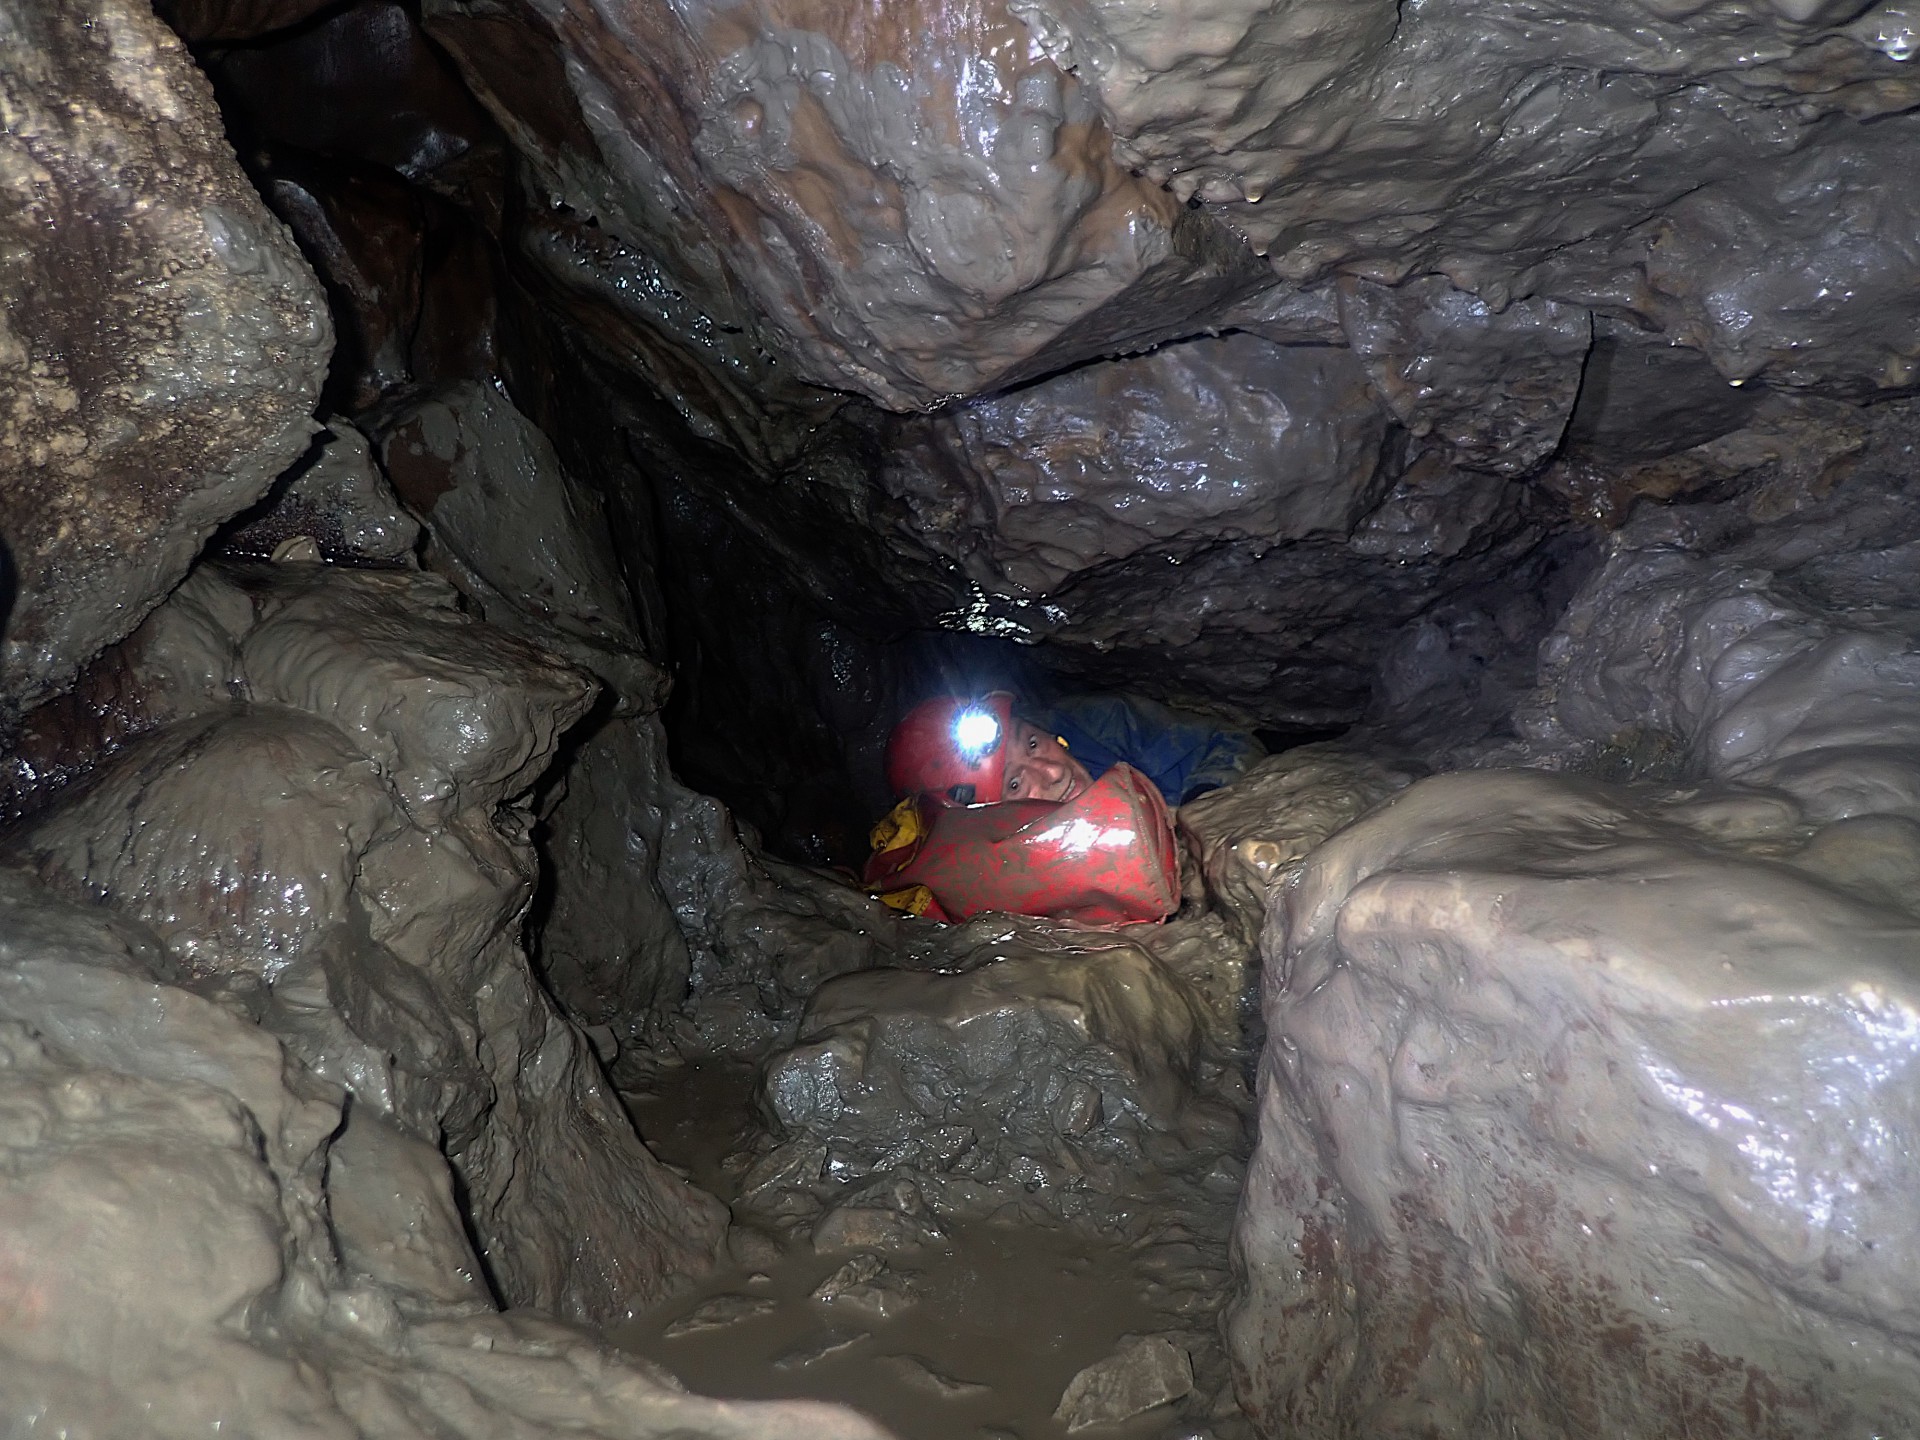
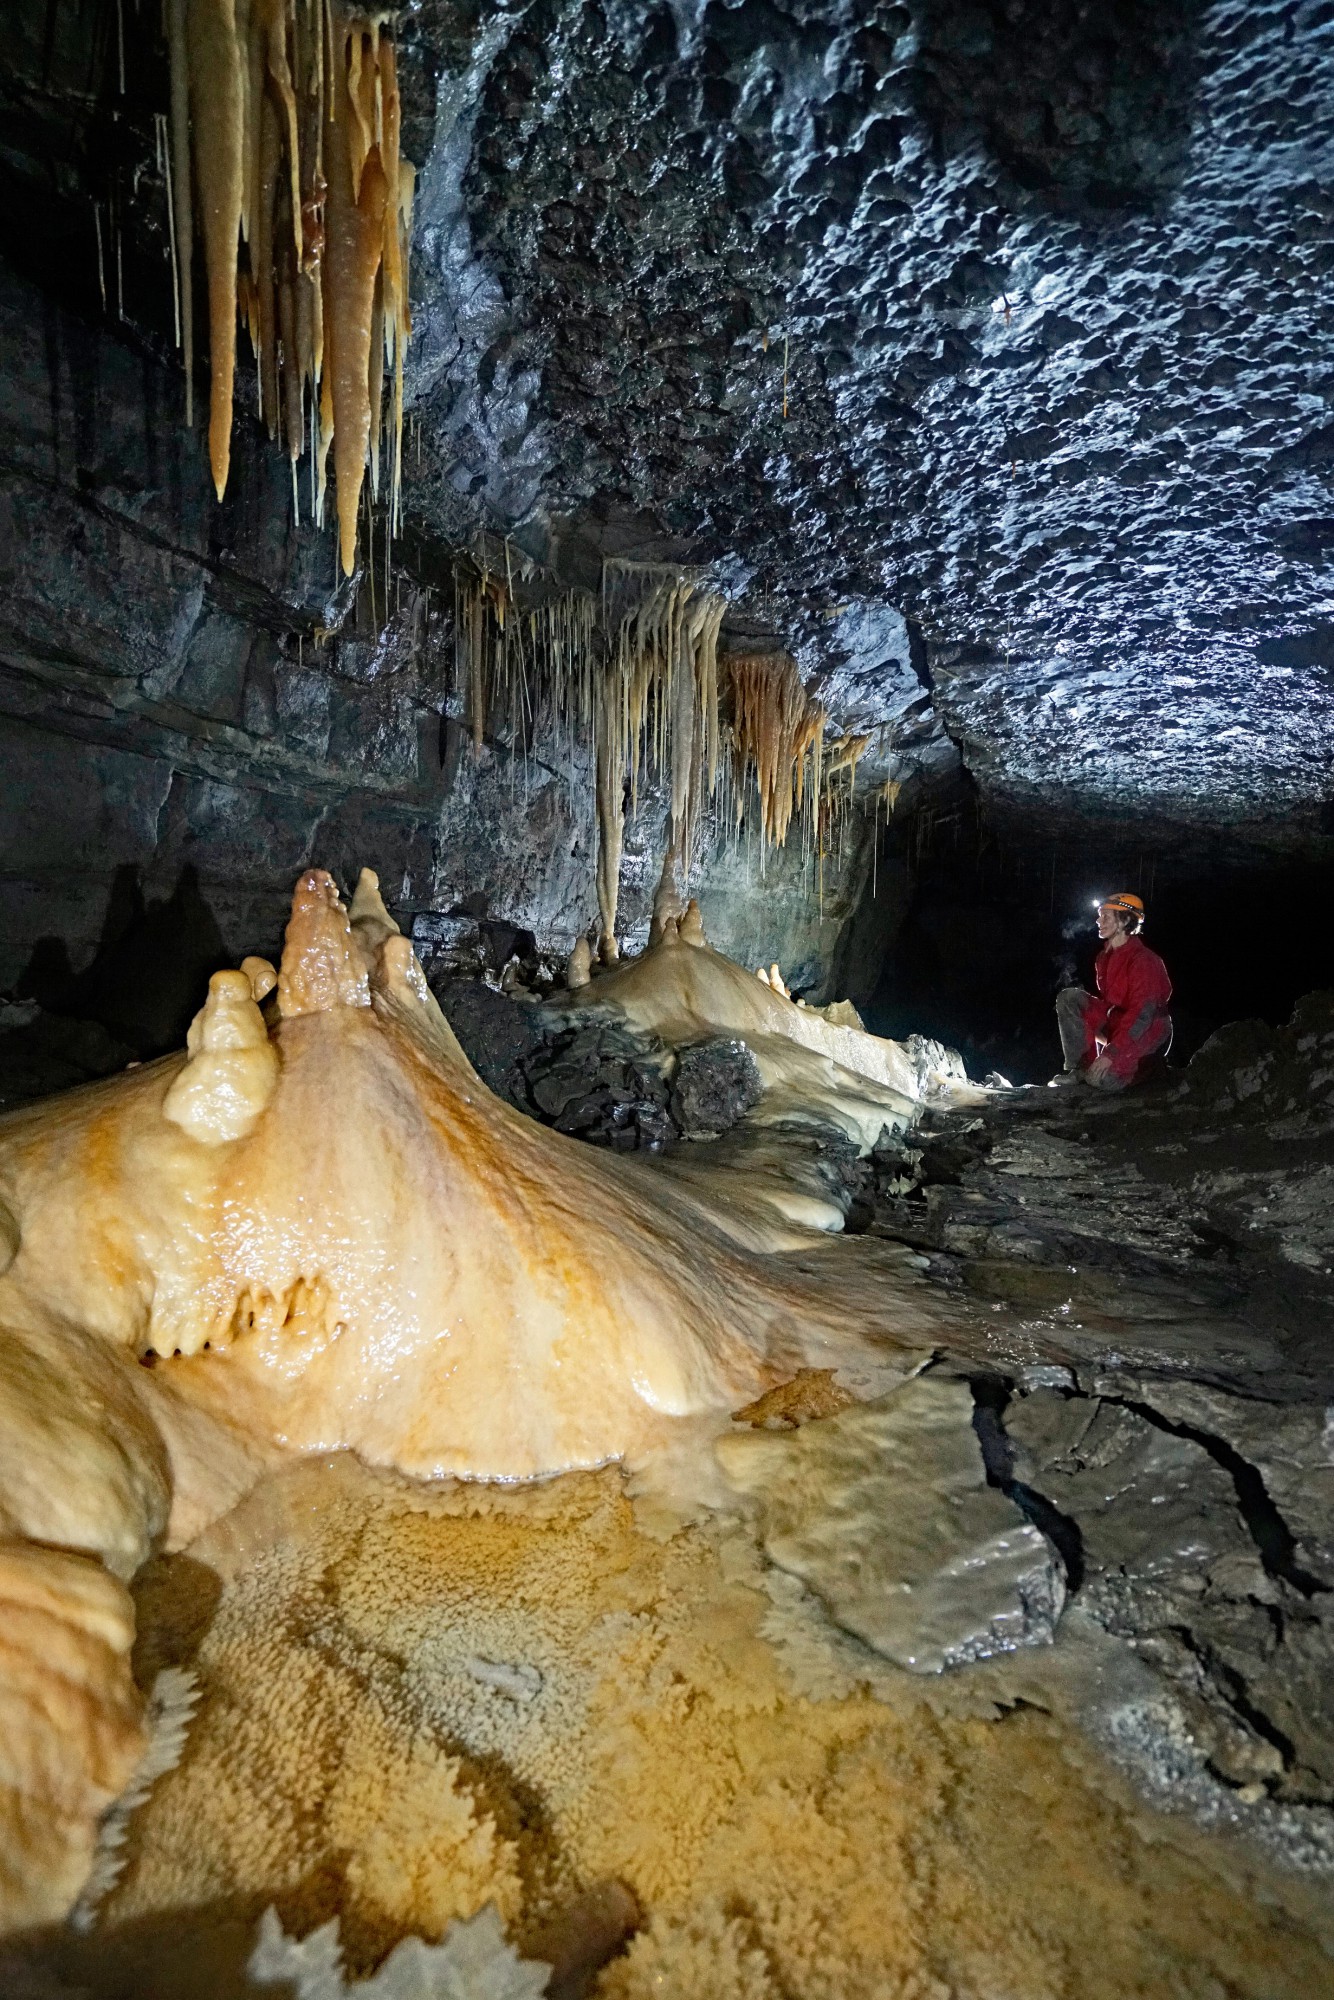
Second Choke emerges at the top of a calcite boulder slope in large open passage, where once again the taped route should be followed. Here you’ll soon find your feet and lower legs properly ensconced in glorious glutinous mud. Thankfully this doesn’t last too long before firmer ground is reached. The passage becomes low in places, but the route is easy going with no navigational difficulties. After a short calcite slide downwards, stay on the main taped route heading right and take note that this calcite slope is not obvious on the return (though you can’t go very far beyond if you miss it). Ignore the taped route heading off on the right soon after, this leads to a 15m descent to a chamber with no way on. Continuing on the main route soon reaches more dramatic proportions to become Travertine Passage, a fantastic bit of cave with formations becoming more and more impressive as you go.
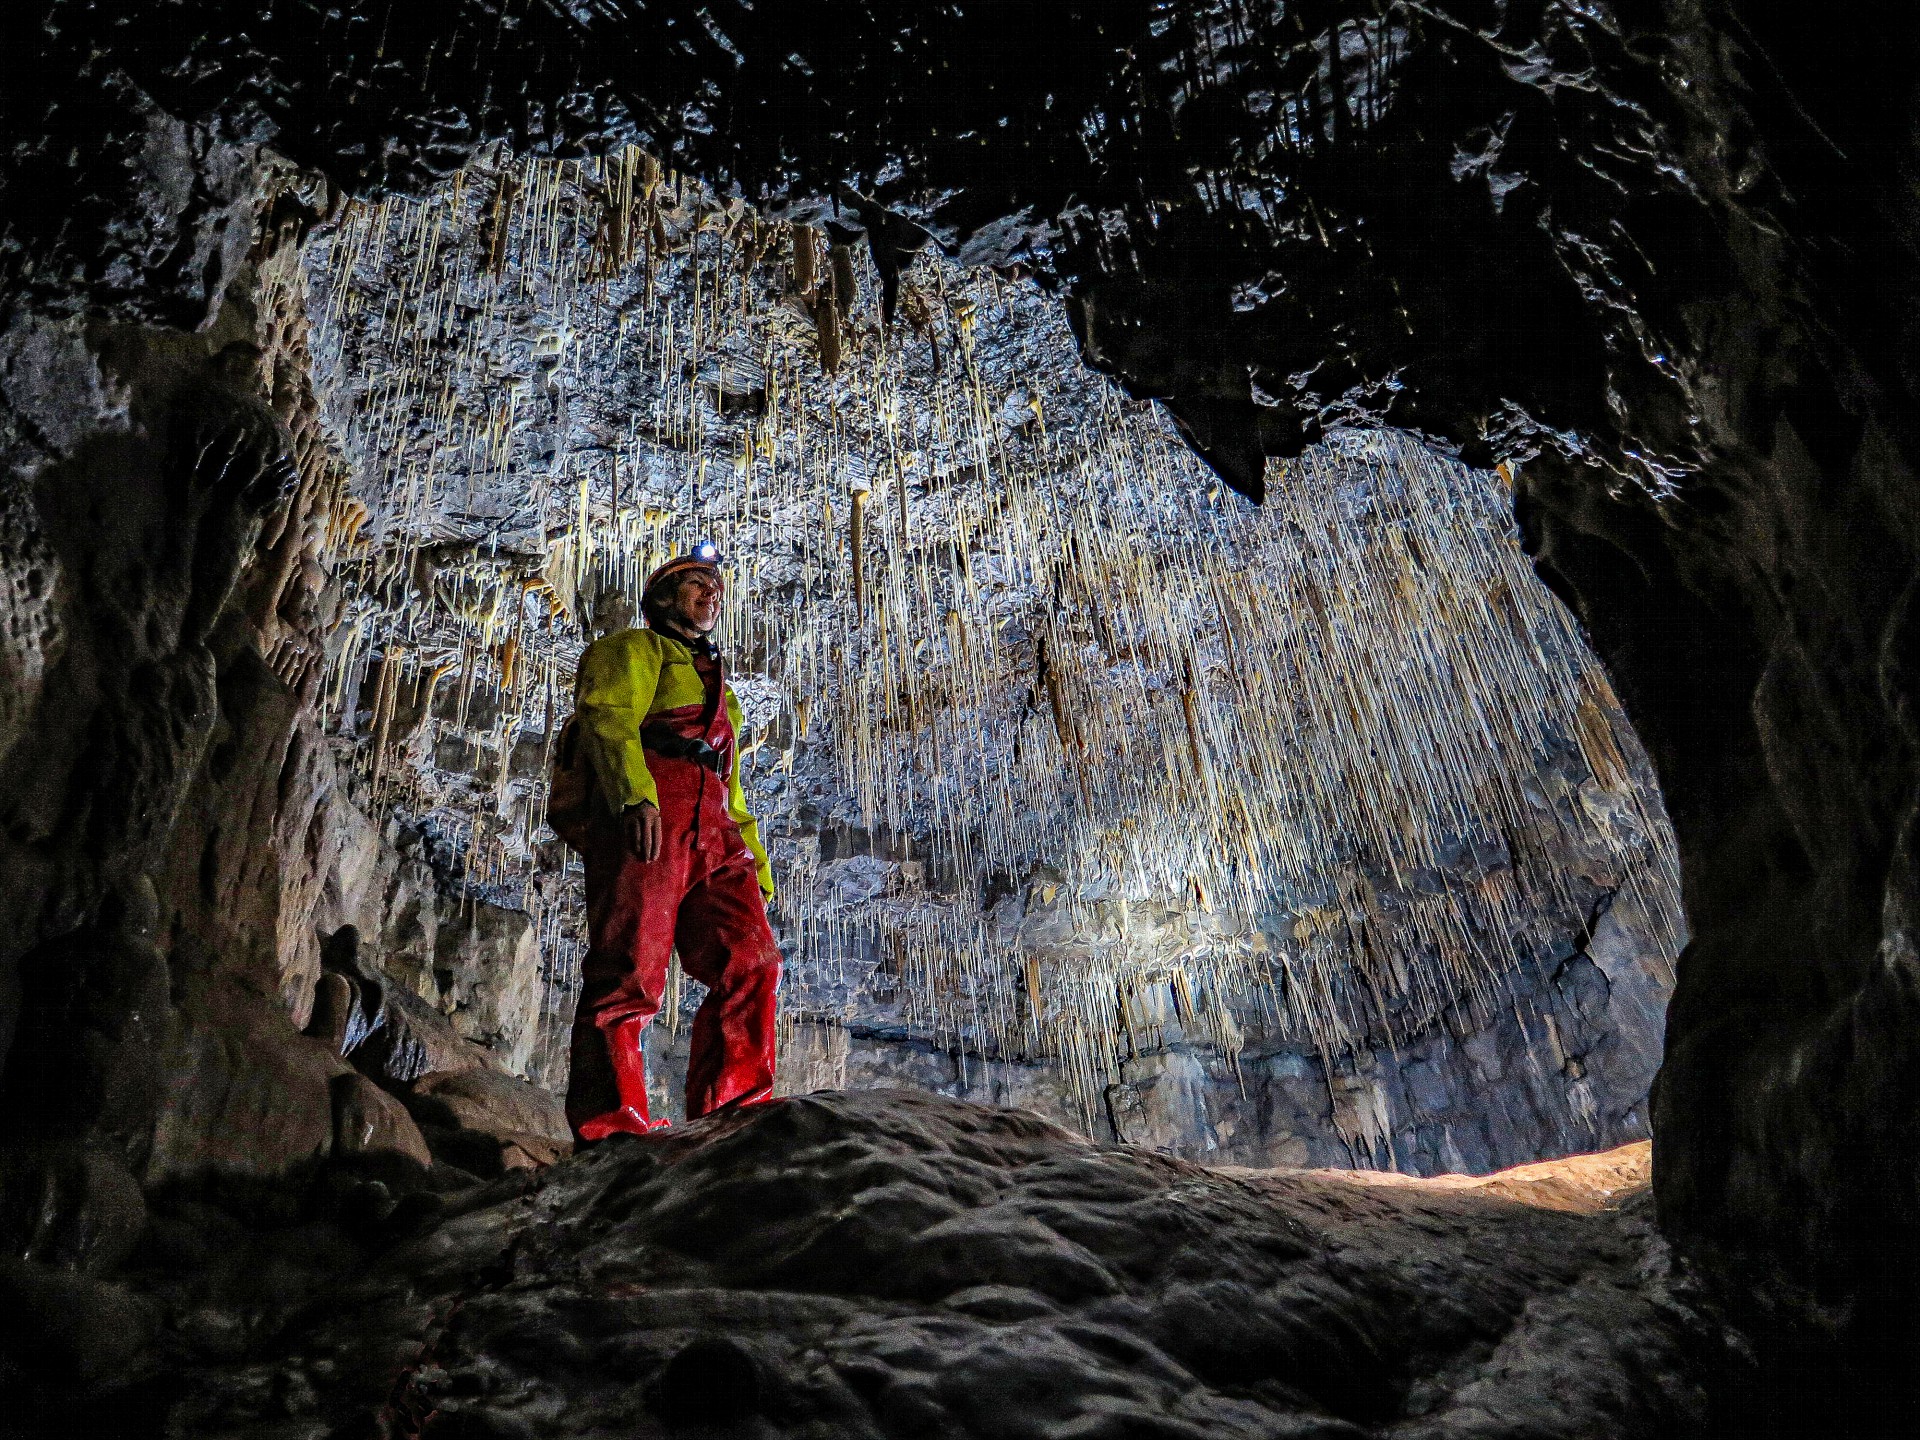
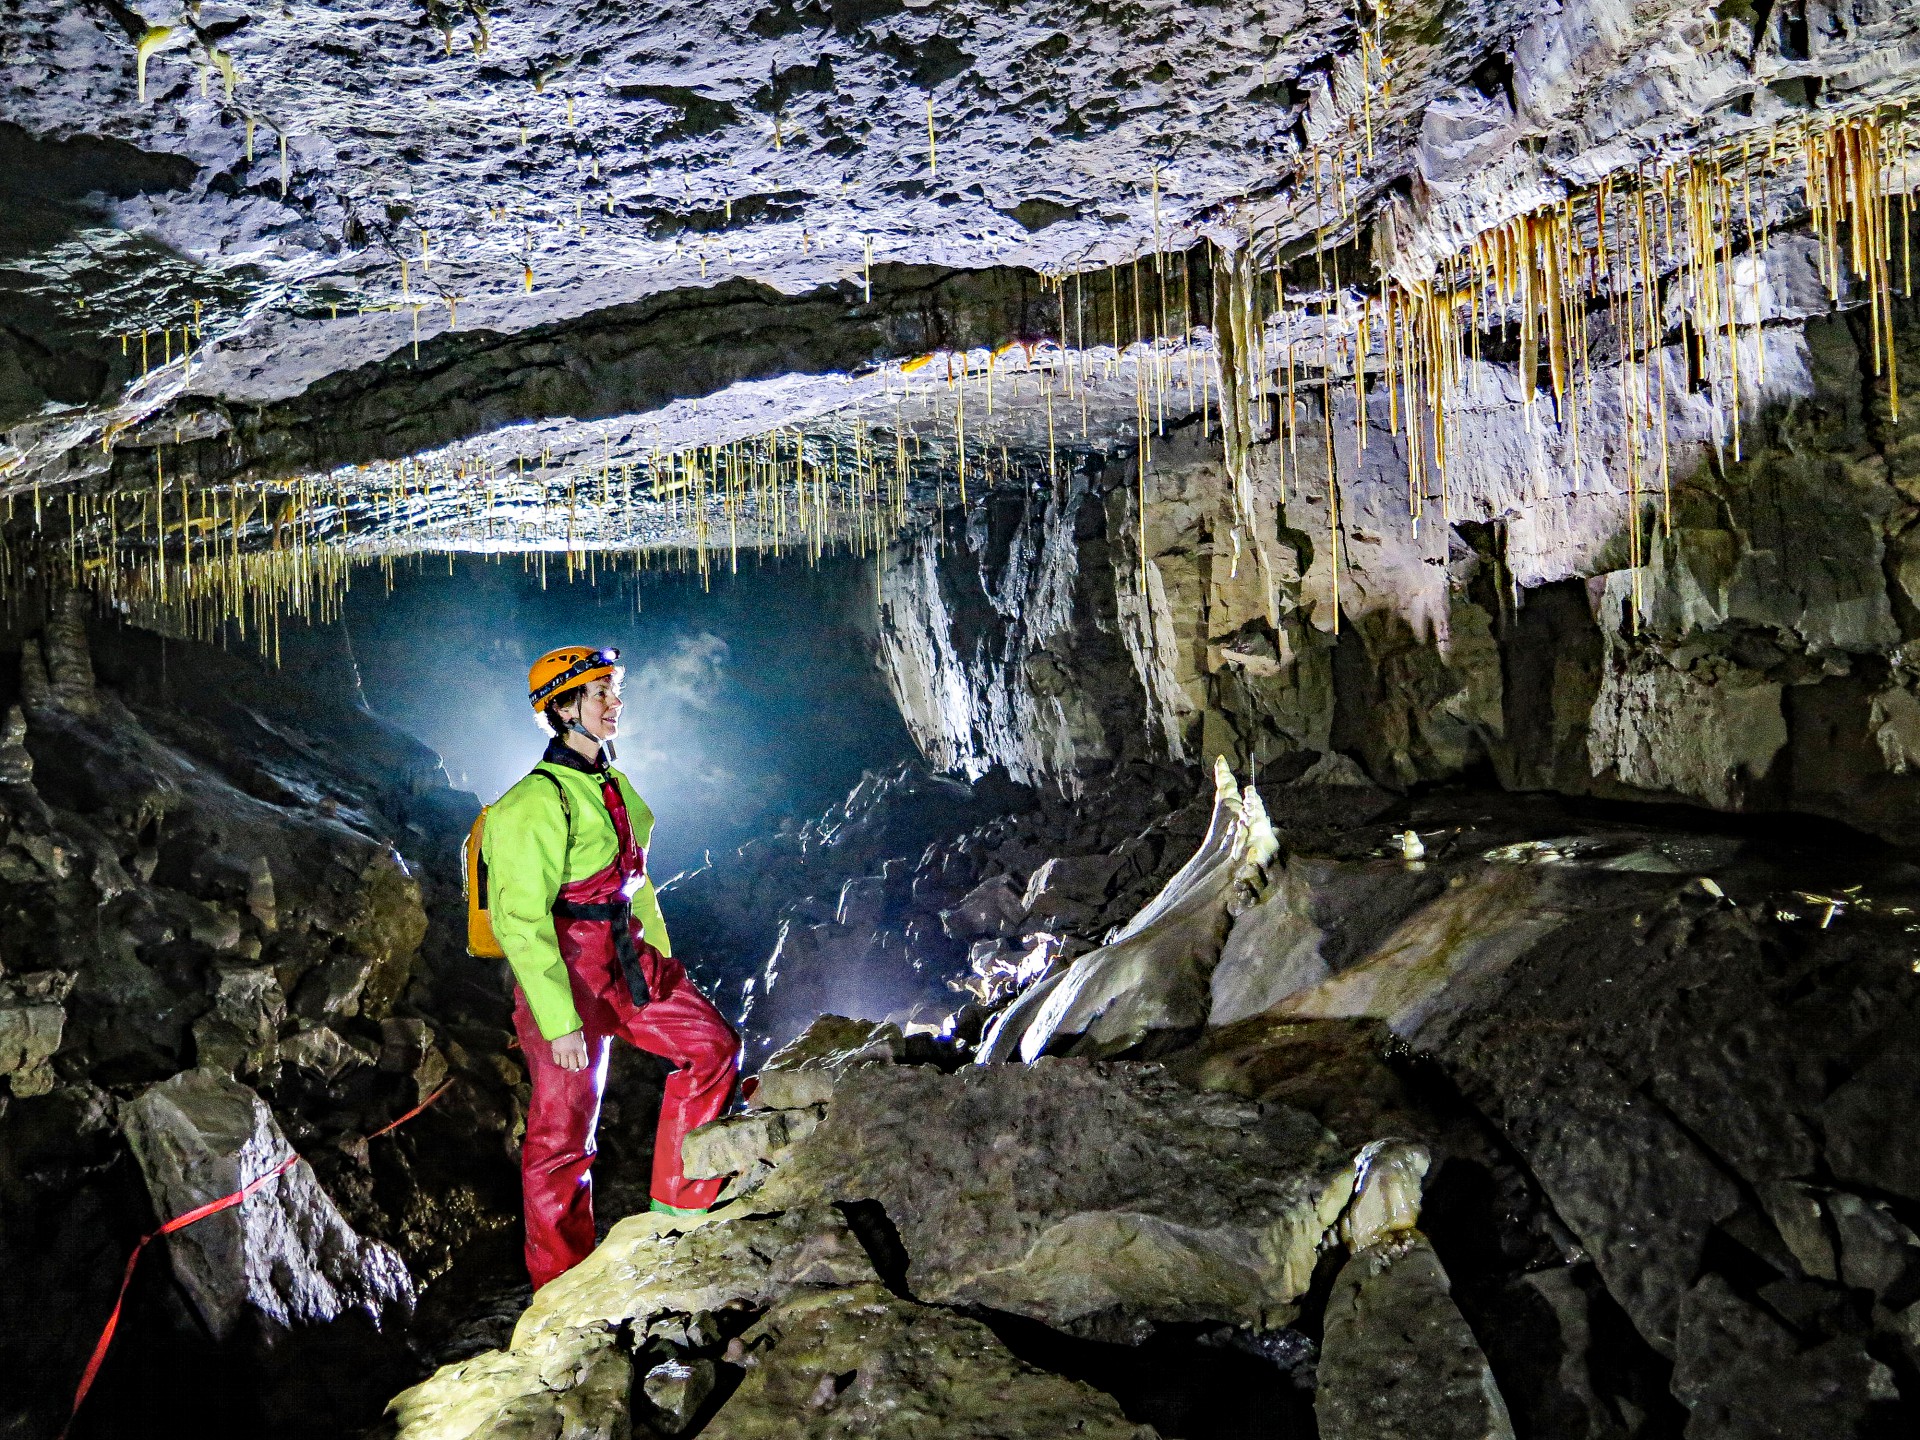
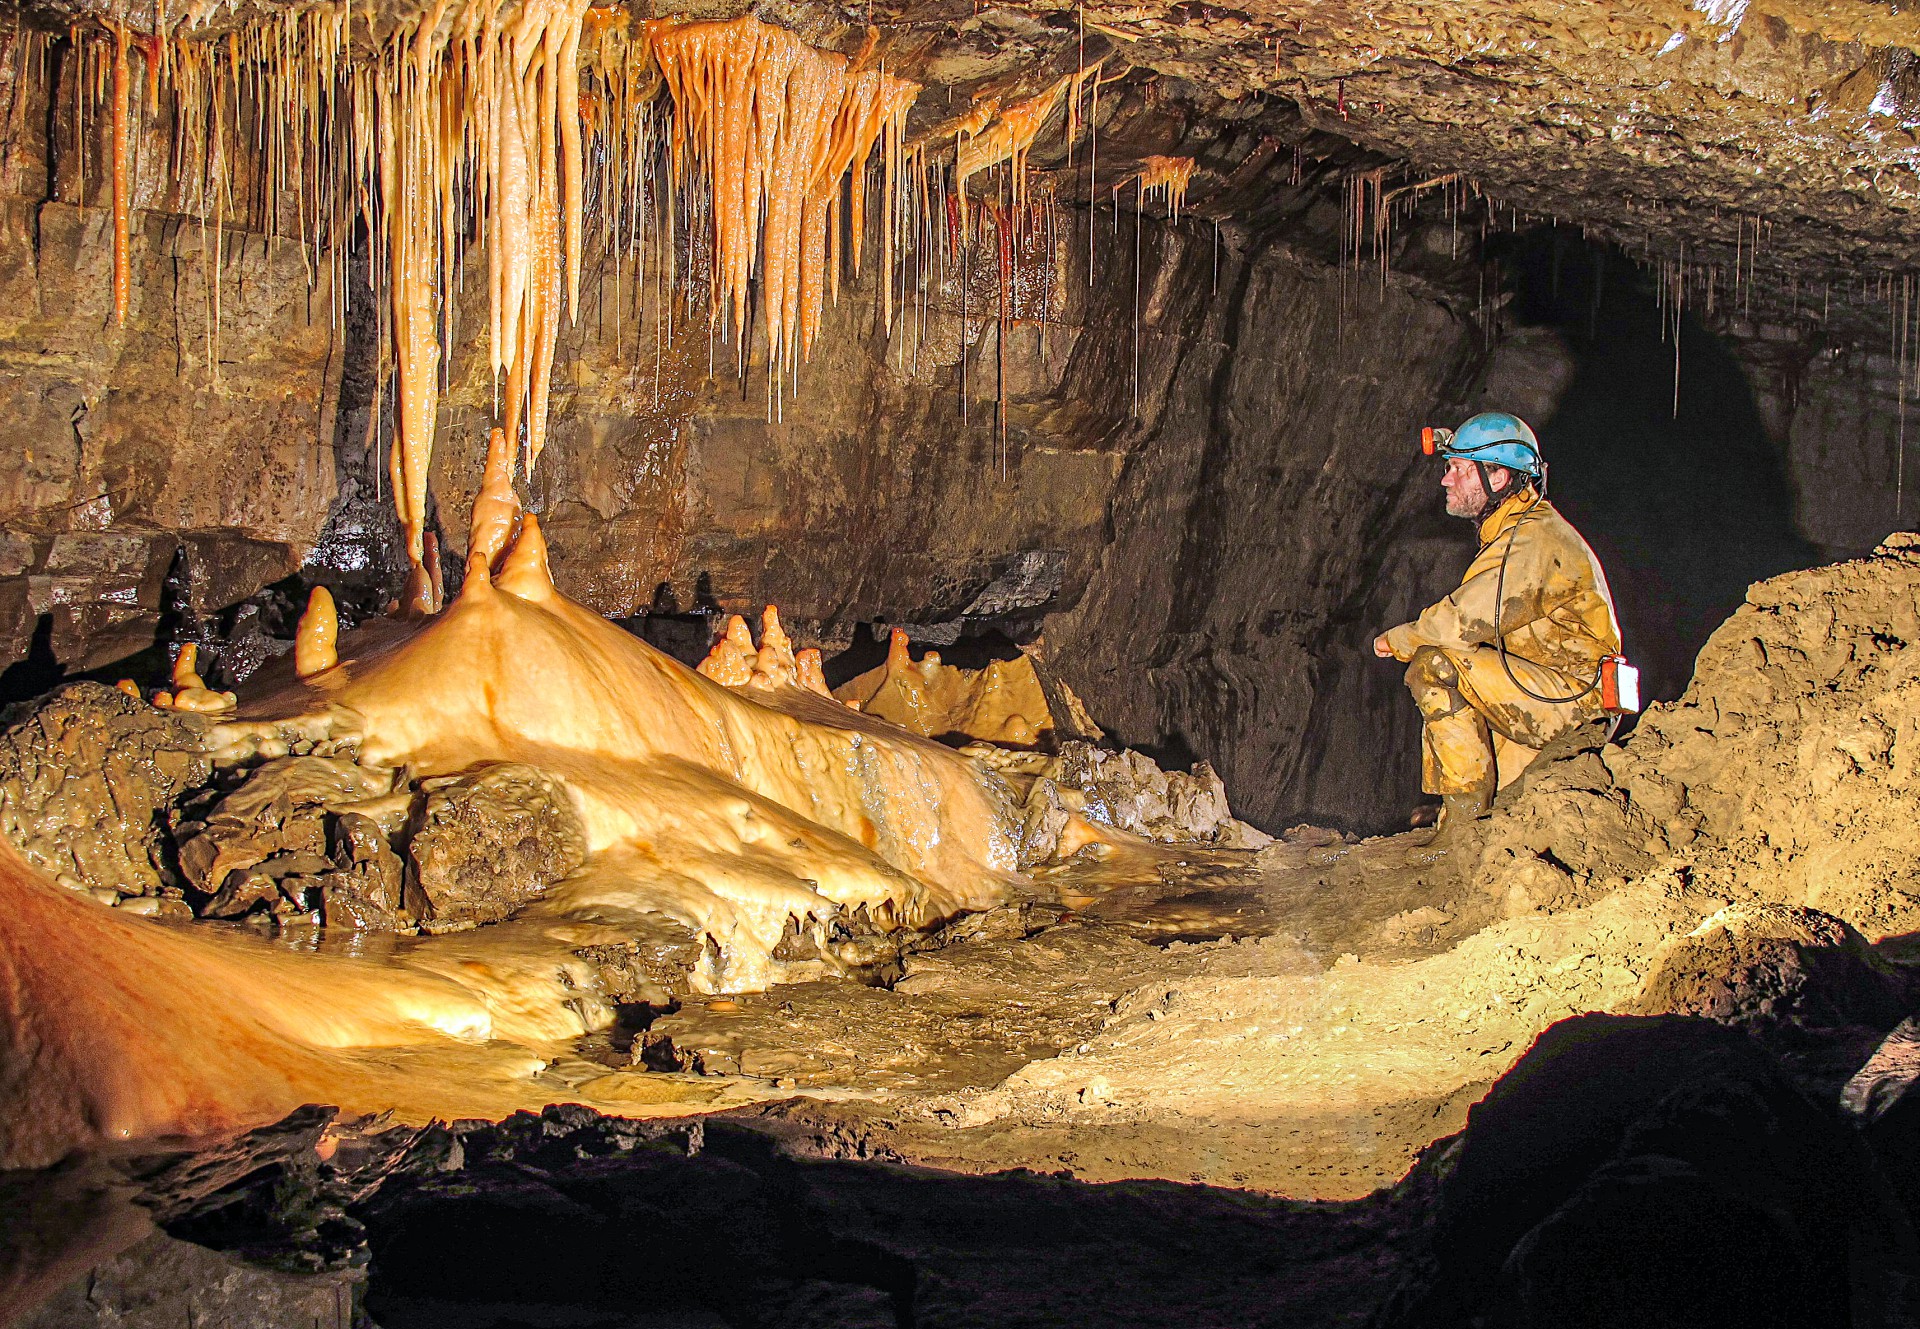
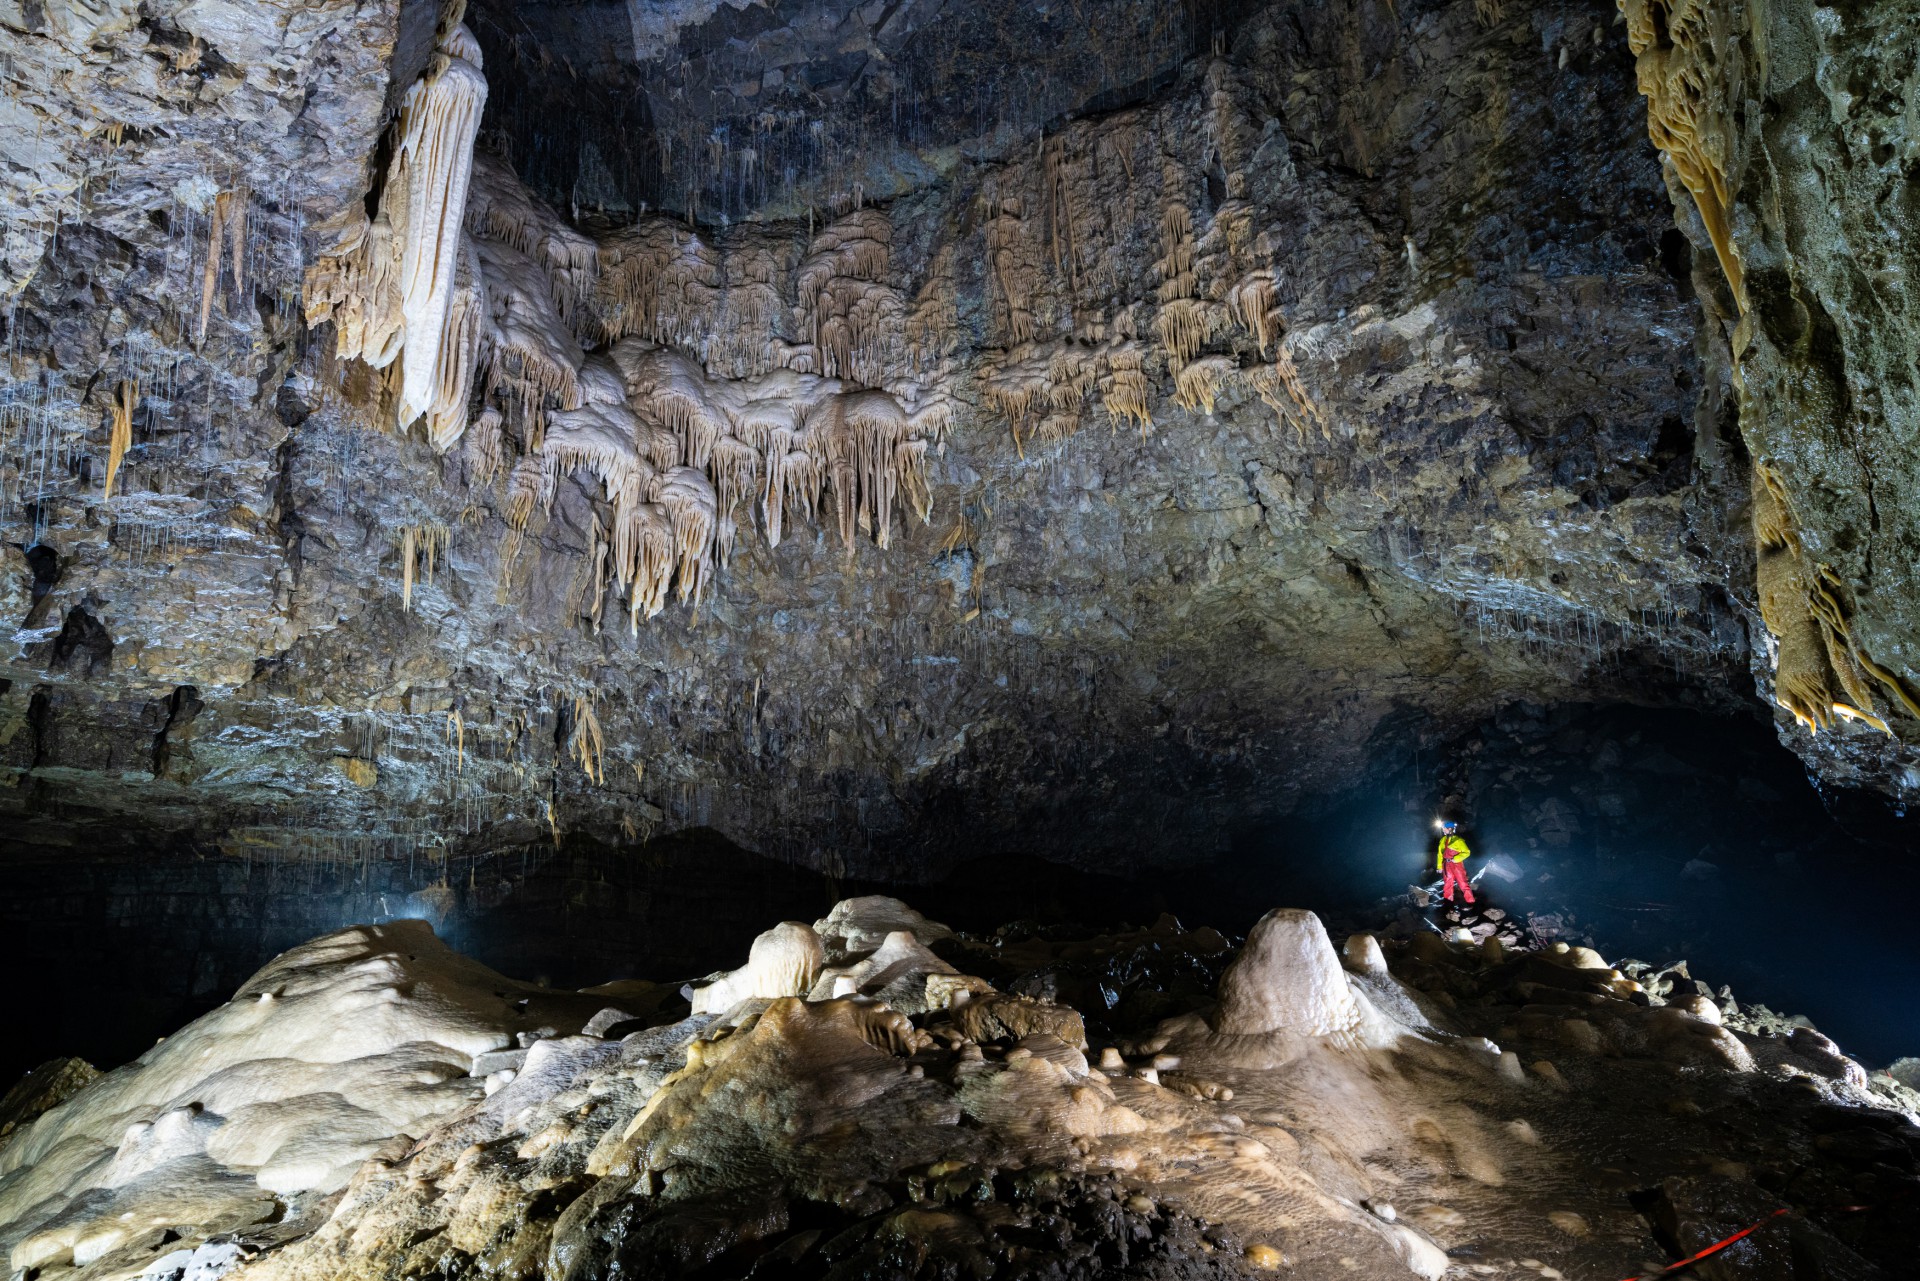
Beautiful orange coloured stalagmites and stalactites with crystal pools are just the start of this, with large gour pools spanning the full width of the passage before reaching The Hall of Mountain King, where the taped route should be carefully followed to avoid muddying the formations. The best vantage point to see the full effect of the stalactites and high-level formations is along the taped path heading left following the cave walls. This is also the route to the continuation of the cave, where the extended crawling starts off with a low squeeze over a calcite floor. The more obvious large passage heading off to the right (Small Side Passage Near the Entrance) doesn’t extend very far before closing down. If The Hall of the Mountain King is the final destination of your trip, simply retrace your steps and head back the way you’ve come.
Description written by Mandy Voysey. Photos by Martyn Farr and Nick Chipchase.
Download Printable VersionSpotted an error in this route description or want to leave feedback? Contact the Webmaster.